Most banana bread is a disappointment. It’s either a leaden, oily brick that sits heavy in your gut or a dry, crumbly mess that tastes more like flour than fruit. People settle for mediocre loaves because they follow outdated ratios or use bananas that aren’t actually ready. If you’ve ever pulled a loaf out of the oven only to find a gummy, raw center despite the crust being burnt, you’ve hit the wall that stops most home bakers.
This is the fix. You need Easy Bread Recipes Banana You’ll Want to Copy Right Now because we are discarding the « mash and pray » method. The primary reason banana bread fails is moisture mismanagement. Bananas are unpredictable; their water content shifts as they ripen. Most recipes don’t account for this variance, leading to that dreaded « soggy middle » syndrome. We are going to control the hydration and the structural integrity of the crumb to ensure a loaf that is moist but resilient.
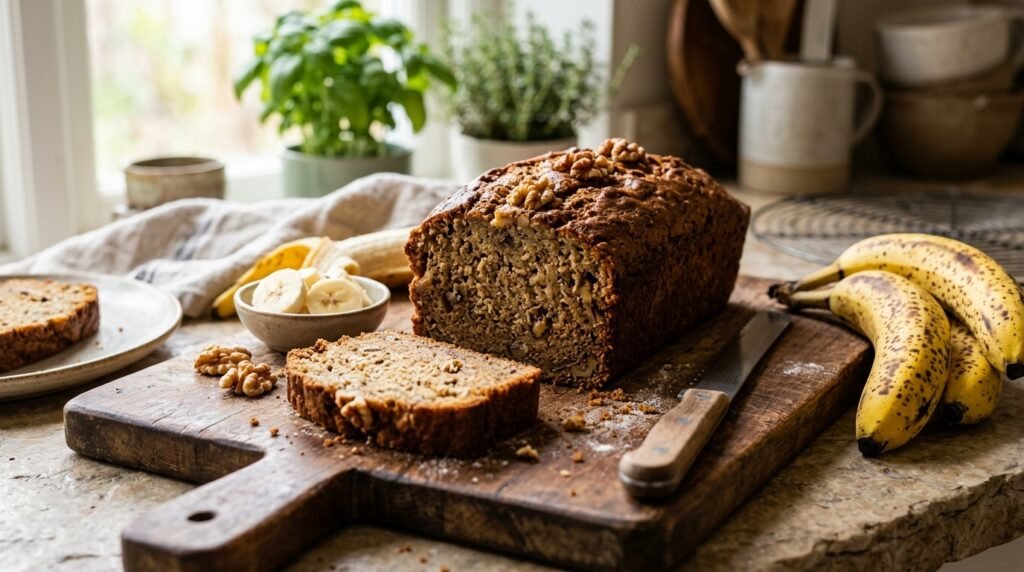
Stop looking for « pretty » yellow bananas. If your bananas don’t look like they belong in the compost bin—black, spotted, and slightly weeping—they aren’t ready for this recipe. We aren’t just making a quick bread; we are engineering a loaf with a tight, tender crumb and an aggressive fruit profile that stands up to a thick slab of salted butter.
The « Hero » Technique: The Banana Reduction
The secret to beating the top three recipes on Google isn’t adding more sugar; it’s the Banana Reduction.
Most bakers just mash the fruit and stir it in. This introduces a massive, uncontrolled amount of liquid into the batter. Instead, we are going to microwave the peeled bananas for five minutes to release their juices, strain that liquid into a small saucepan, and simmer it until it reduces by half.
Why this works: By reducing the banana juice into a concentrated syrup, you intensify the flavor without adding extra water. This allows us to use more bananas (five instead of the standard three) for a massive flavor punch while maintaining a perfect, cake-like structure that won’t collapse or turn gummy. You get all the aromatics and natural sugars of the fruit without the structural instability of excess moisture.
Ingredient Deep Dive
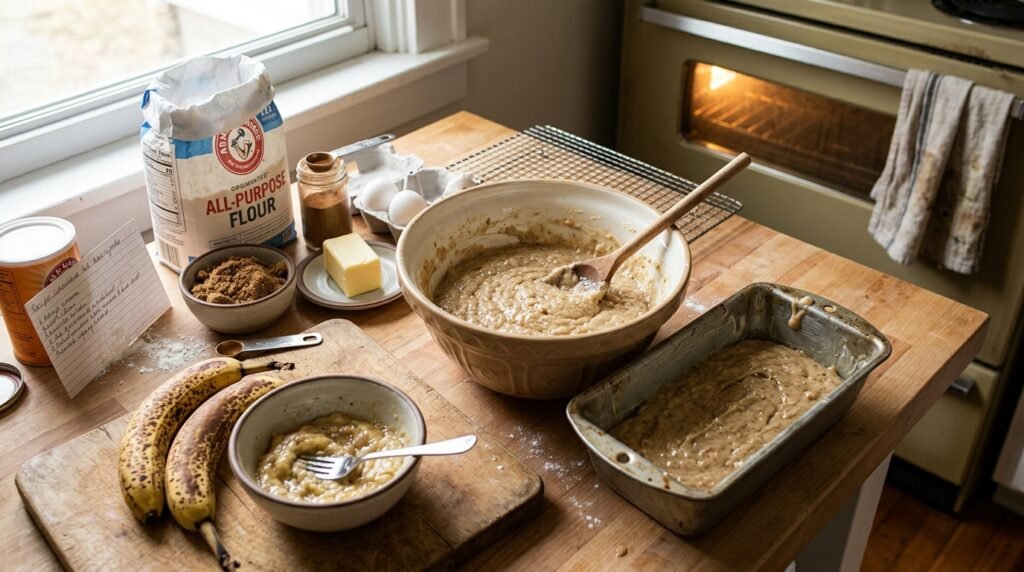
- Bananas: Use five overripe bananas. Look for skins that are at least 70% black.
- Flour: King Arthur All-Purpose Flour is the standard here. It has a slightly higher protein content (11.7%) than other national brands, which provides the necessary « bones » for the bread to rise and hold its shape.
- Fat: We use unsalted Kerrygold Irish Butter, melted and slightly browned. Browned butter adds a nutty depth that complements the caramelized banana syrup. Avoid vegetable oil; it offers moisture but zero flavor.
- Sugar: A mix of dark brown sugar and granulated sugar. The molasses in the dark brown sugar provides acidity to react with the baking soda, ensuring a high rise.
- Salt: Use Diamond Crystal Kosher salt. If you use Morton’s or table salt, cut the measurement by half. You need the salt to cut through the heavy sugar profile, but you don’t want a « salty » bread.
- Leavening: Fresh baking soda is non-negotiable. If your box has been open for more than six months, toss it and buy a new one.
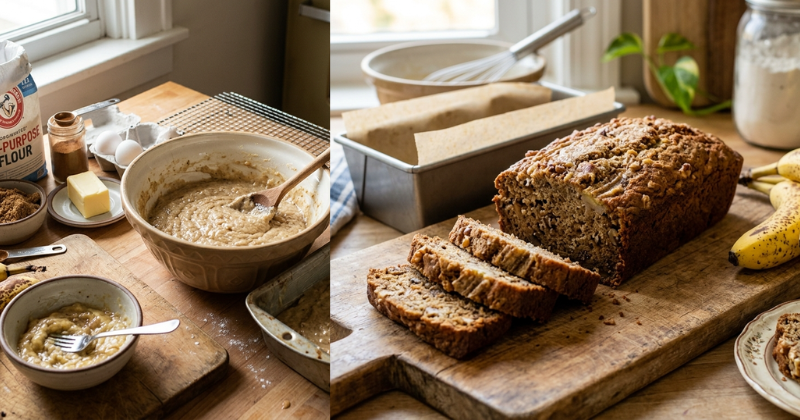
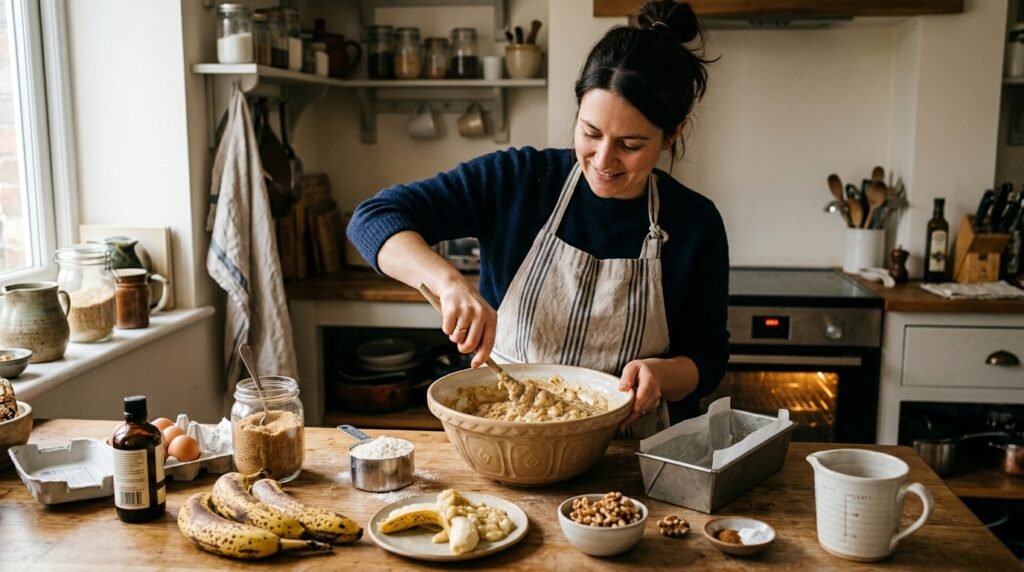
The Walkthrough
Phase 1: The Flavor Concentrate
- Peel five bananas and place them in a microwave-safe bowl. Cover with plastic wrap and poke a few vent holes.
- Microwave on high for 5 minutes. The bananas should be soft and surrounded by liquid.
- Place a fine-mesh strainer over a small saucepan. Dump the bananas into the strainer and let the liquid drain for 10 minutes.
- Set the solids aside. Place the saucepan over medium-high heat and reduce the liquid to about 1/4 cup. It should be thick and syrupy.
- Incorporate this syrup back into the banana solids and mash until smooth.
Pro-Tip: Don’t skip the reduction. If the syrup gets too thick (like candy), just whisk in a teaspoon of water to loosen it back up.
Phase 2: The Batter Build
- Whisk 1 ¾ cups of King Arthur All-Purpose Flour, 1 teaspoon of baking soda, and 1 teaspoon of Diamond Crystal Kosher salt in a large bowl.
- In a separate bowl, whisk 8 tablespoons of melted brown butter with ¾ cup dark brown sugar and ½ cup granulated sugar.
- Add 2 large eggs and 1 teaspoon of pure vanilla extract to the butter mixture. Whisk vigorously until the mixture lightens in color.
- Fold in the banana mash/syrup mixture.
- Gently fold the dry ingredients into the wet ingredients using a rubber spatula. Stop the moment you see no more streaks of flour.
Pro-Tip: Over-mixing is the enemy. Every stroke of the spatula develops gluten. Too much gluten results in a tough, rubbery loaf. Fold until « just combined. »
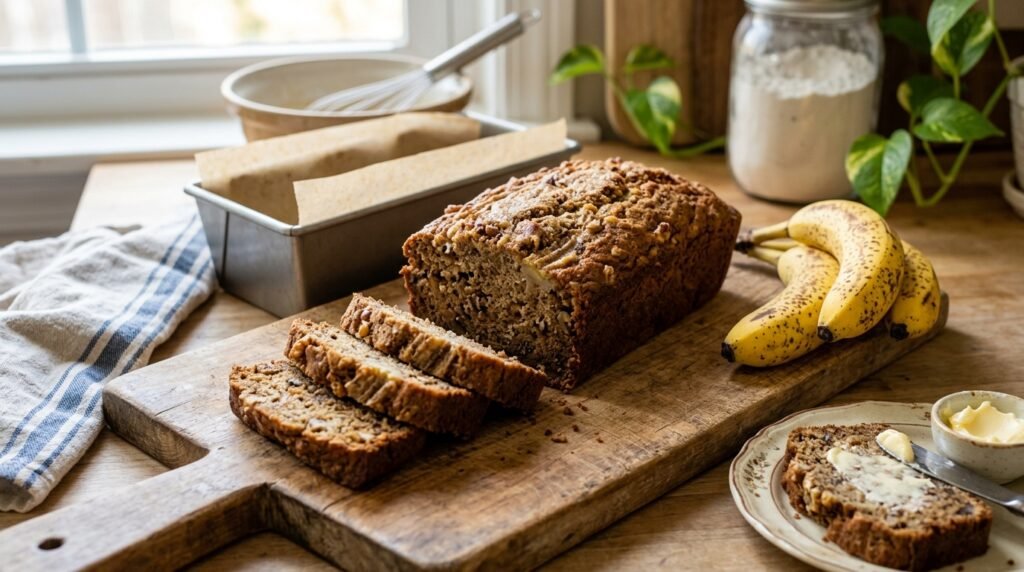
Phase 3: The Bake and Finish
- Grease an 8 ½ x 4 ½ inch loaf pan. Line it with a parchment paper « sling » so the edges hang over the sides.
- Pour the batter into the pan. Smooth the top.
- Bake at 350°F (175°C) for 55 to 65 minutes.
- Visual Cue: The loaf should have a deep golden-brown crust and a prominent center crack.
- The Sound Test: Carefully lift the loaf (using the parchment) and tap the bottom. It should sound hollow.
- The Probe: A toothpick inserted into the center should come out with a few moist crumbs, but no wet batter.
Pro-Tip: If the top is browning too fast but the center is still wobbly, tent the pan loosely with aluminum foil for the final 15 minutes.
Troubleshooting Table
| What Went Wrong | How to Fix It Next Time |
| Loaf collapsed in the middle | Likely underbaked or too much leavening. Use a thermometer to ensure the internal temp hits 200°F. |
| Tough, chewy texture | You over-mixed the flour. Fold the dry ingredients in by hand, never use an electric mixer. |
| Burnt outside, raw inside | Oven temperature is too high or the rack is too high. Move the rack to the lower-middle position. |
| Bland flavor | Your bananas weren’t ripe enough. If they aren’t spotted with black, they haven’t developed enough sugar. |
Storage & Reheating
Banana bread is actually better on day two because the moisture redistributes.
- Counter: Wrap the completely cooled loaf tightly in plastic wrap, then foil. Store at room temperature for up to 3 days.
- Fridge: Do not refrigerate; it dries out the crumb.
- Freezer: Slice the loaf first. Wrap individual slices in plastic wrap and place them in a heavy-duty freezer bag for up to 3 months.
- Reheating: For the best experience, toast a slice in a 350°F toaster oven for 4 minutes or sear it in a pan with a pat of salted butter until the edges are caramelized and crisp.
Recipe Card Summary
- Prep Time: 20 Minutes
- Cook Time: 60 Minutes
- Total Time: 1 Hour 20 Minutes
- Yield: 1 Loaf (approx. 8-10 slices)
- Equipment: 8 ½ x 4 ½ inch loaf pan, microwave-safe bowl, fine-mesh strainer, small saucepan, parchment paper.
- Key Stats: Internal Temp Target: 200°F-205°F.
Follow these steps exactly. No substitutions on the flour or the banana reduction technique. This is the definitive version of banana bread that stops the scroll on Pinterest and actually delivers on the promise of the photo.