Stop Settling for Gritty Frosting: The Ultimate Cream Cheese Guide
Most cream cheese frosting is a structural disaster. It’s either so stiff it tears your cake layers apart, or it’s a runny, over-sweetened mess that slides off the sides before you can even grab a fork. If you’ve ever followed a generic recipe only to end up with a bowl of « soup » or frosting that feels like eating wet sand, you’ve hit the wall that most home bakers face.
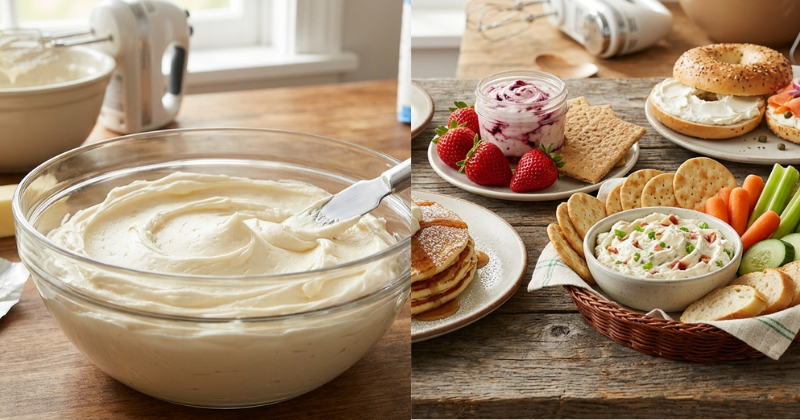
The problem isn’t your skill; it’s the ratio and the temperature. Most recipes overcompensate for the softness of cream cheese by dumping in pounds of powdered sugar. This kills the tangy flavor profile and creates that dreaded « gritty » texture. We are fixing that today. These 7 Silky Cream Cheese Frosting Recipes You Need to Try Tonight focus on stability and mouthfeel without sacrificing the signature tang that makes this the king of toppings.
We are solving the three biggest frosting failures: graininess, weeping, and structural collapse. By the end of this guide, you will have a stable, pipeable medium that holds its shape on a warm kitchen counter and tastes like high-end pastry work, not a sugar bomb.
The « Hero » Technique: The Sequential Emulsion Method
To get that professional, mirror-smooth finish, you have to abandon the « throw it all in the bowl » method. The secret to the top-tier results is the Sequential Emulsion.
In most kitchens, people cream the butter and cream cheese together first. This is a mistake. Because butter and cream cheese have different melting points and water contents, beating them together immediately often leads to microscopic curdling.
The Fix: You must beat the butter alone until it is completely aerated and white—usually about 5 full minutes. Only then do you add the cream cheese in cold, cubed chunks. By introducing the cold cream cheese into the already-aerated butter, you create a stable fat structure that can actually hold the weight of the sugar. This method ensures your frosting is silky enough to spread but strong enough to pipe tall swirls on a cupcake.
Ingredient Deep Dive: Why Specifics Matter
Don’t just grab whatever is on sale. Frosting is an exercise in food chemistry.
- The Cream Cheese: Use Philadelphia Original (Brick Form). Never use the « spreadable » tubs or generic store brands. Tubs contain extra water and air, and many generic brands use different stabilizers that break down when whipped, turning your frosting into a liquid.
- The Butter: Use Kerrygold Unsalted Butter. It has a higher butterfat content and lower water content than standard American « Grade A » butter. Lower water means less chance of the sugar dissolving into a syrup.
- The Sugar: Use C&H Powdered Sugar and sifting is non-negotiable. Even « clump-free » brands develop tiny pebbles of sugar that will clog your piping tips and ruin the texture.
- The Salt: Use Diamond Crystal Kosher salt. It has a larger, hollow flake that dissolves instantly into the fats. Table salt is too dense and can leave « salty hotspots » in the frosting.
The Walkthrough: 7 Variations on Silk

Phase 1: The Base (The Master Silk)
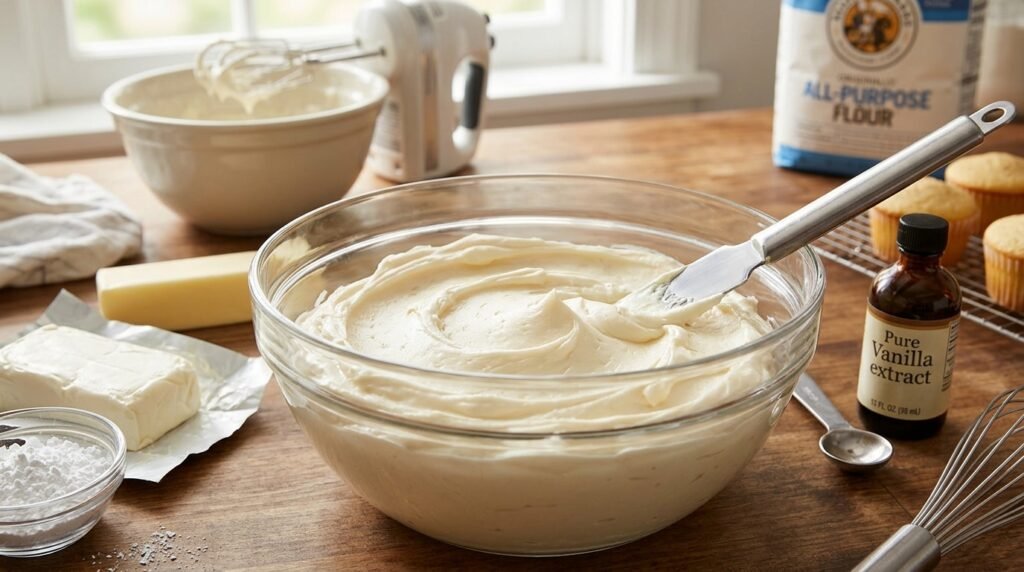
Before you can experiment with the variations, you must nail the base.
- Aerate the Fat: Place 1 cup of Kerrygold butter (slightly cool to the touch, not oily) in your mixer. Beat on medium-high for 5 minutes. Scrape the sides every 60 seconds.
- The Cold Addition: Cut 8oz of cold cream cheese into 1-inch cubes. Add them one by one while the mixer is on medium.
- The Sweetener: Turn the mixer to the lowest setting. Add 4 cups of sifted powdered sugar half a cup at a time.
- The Finish: Add 1 tablespoon of heavy cream and 2 teaspoons of vanilla bean paste.
Pro-Tip: If the bowl feels warm to the touch at any point, stop and put it in the fridge for 10 minutes. Friction from the whisk creates heat that will melt your emulsion.
Phase 2: The 7 Expert Variations
- The Dark Chocolate Velvet: Fold in 4 ounces of melted (and cooled!) 70% cacao chocolate. The fat in the chocolate acts as a stabilizer.
- Salted Caramel Tang: Swap the vanilla for 3 tablespoons of homemade salted caramel sauce. Use a heavy-bottomed pot to make the caramel to avoid burning.
- Spiced Chai: Whisk 1 teaspoon of cardamom and ½ teaspoon of ginger into your powdered sugar before adding it to the fat.
- Lemon Zest & Thyme: Use the zest of two lemons and 1 teaspoon of finely minced fresh thyme. The acid in the lemon helps cut the fat.
- Brown Butter Cream Cheese: Brown your butter first, then chill it until it returns to a solid-but-malleable state before creaming. This adds a nutty, toasted note.
- Strawberry Reduction: Simmer 1 cup of frozen strawberries until they reduce to 2 tablespoons of thick syrup. Cool completely and whip in at the end.
- The Espresso Shot: Dissolve 2 teaspoons of espresso powder into your vanilla extract before adding.
Troubleshooting Table
| What Went Wrong | How to Fix It Next Time |
| Frosting is « Soupy » | Your cream cheese or butter was too soft, or you used « tub » cheese. Chill the whole bowl for 30 minutes, then re-whip. |
| Tiny White Lumps | The cream cheese was too cold when added to the butter, or the sugar wasn’t sifted. Sift sugar and ensure butter is 65°F. |
| Frosting is Yellowish | You didn’t whip the butter long enough. Butter must be beaten until it turns nearly white to achieve a bright frosting. |
| Sugar feels « Gritty » | You used a cheap sugar brand or didn’t add the tablespoon of heavy cream. The cream helps the sugar fully integrate. |
Storage & Reheating
Cream cheese frosting is highly perishable. Do not leave a frosted cake on the counter for more than 2 hours.
- Storage: Place leftover frosting in an airtight glass container. Plastic can retain odors from previous meals (like onions) which the fat in the frosting will absorb. It stays fresh for 5 days in the fridge.
- Freezing: You can freeze this for up to 3 months. Wrap it tightly in plastic wrap, then place in a freezer bag.
- Reviving: Never microwave cold frosting. Let it sit at room temperature for 1 hour, then put it back in the stand mixer with the paddle attachment. Beat on low for 2 minutes to restore the creamy texture.
Recipe Card Summary
- Total Prep Time: 15 Minutes
- Yield: Enough for 24 cupcakes or one 9-inch double-layer cake.
- Required Equipment: Stand mixer (KitchenAid preferred), Paddle attachment, Fine-mesh sifter, Silicon spatula.
- Dietary Note: This recipe is naturally gluten-free if using pure extracts.
Visual Cue for Success: When the frosting is finished, pull the paddle attachment out of the bowl. The frosting should form a « stiff peak » that stands upright without drooping. If it curls over like a wave, it needs more sifted sugar or 10 minutes in the fridge to firm up.