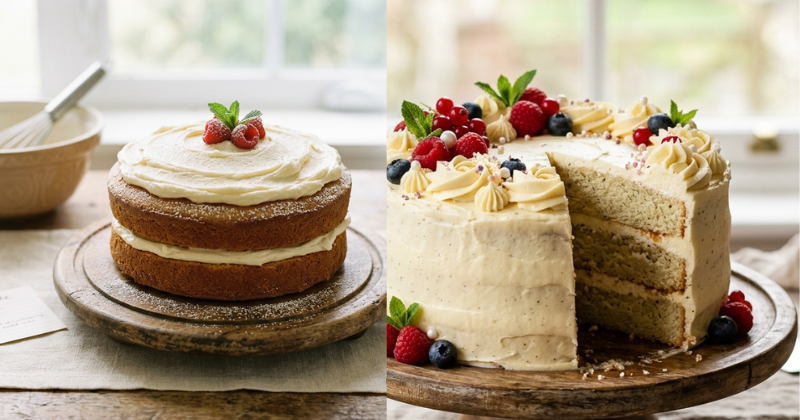
Stop Settling for Dry, Bland Vanilla Cake
Most homemade vanilla cakes are a disappointment. They often turn out dense, resembling a dry muffin rather than a celebration sponge, or they lack any actual « vanilla » flavor, tasting more like sweet flour. The problem isn’t your oven; it’s the standard creaming method found in 90% of internet recipes. When you cream butter and sugar for too long, you incorporate large air bubbles that collapse in the oven, leading to a coarse, crumbly texture.
After developing 7 Secret Vanilla Cake Recipes for Bakery-Style Results at Home, I’ve identified the exact friction points that cause home bakers to fail. Most recipes rely on imitation extract and cheap all-purpose flour, which lacks the protein structure needed for a high-rise. This recipe fixes the « dryness » epidemic by abandoning the traditional creaming method in favor of reverse creaming, ensuring a tight, velvet-like crumb that stays moist for days.
The « Hero » Technique: The Reverse Creaming Method
To beat the top results on Google, you have to change how you handle fat. Traditional recipes start by beating butter and sugar. We aren’t doing that.
The Reverse Creaming Method involves mixing your dry ingredients (flour, sugar, leavening) with room-temperature butter first. You are essentially « sanding » the flour with fat.
The « Why » Behind It:
By coating the flour particles in fat before any liquid (milk or eggs) is added, you create a waterproof barrier. This barrier prevents the liquid from over-developing gluten. Gluten is the enemy of a tender cake; it’s great for chewy bread, but it makes a cake tough. This technique guarantees a flat top (perfect for layering) and a crumb that dissolves on the tongue rather than sticking to the roof of your mouth.
Ingredient Deep Dive: Beyond the Basics
Don’t grab whatever is in the pantry. If you want bakery results, you need specific chemistry.
- King Arthur Pastry Flour or Swans Down Cake Flour: Do not use All-Purpose flour here. Cake flour has a lower protein content (around 7-8%). This results in a softer, more delicate structure. If you use Diamond Crystal or Gold Medal AP flour, your cake will be significantly tougher.
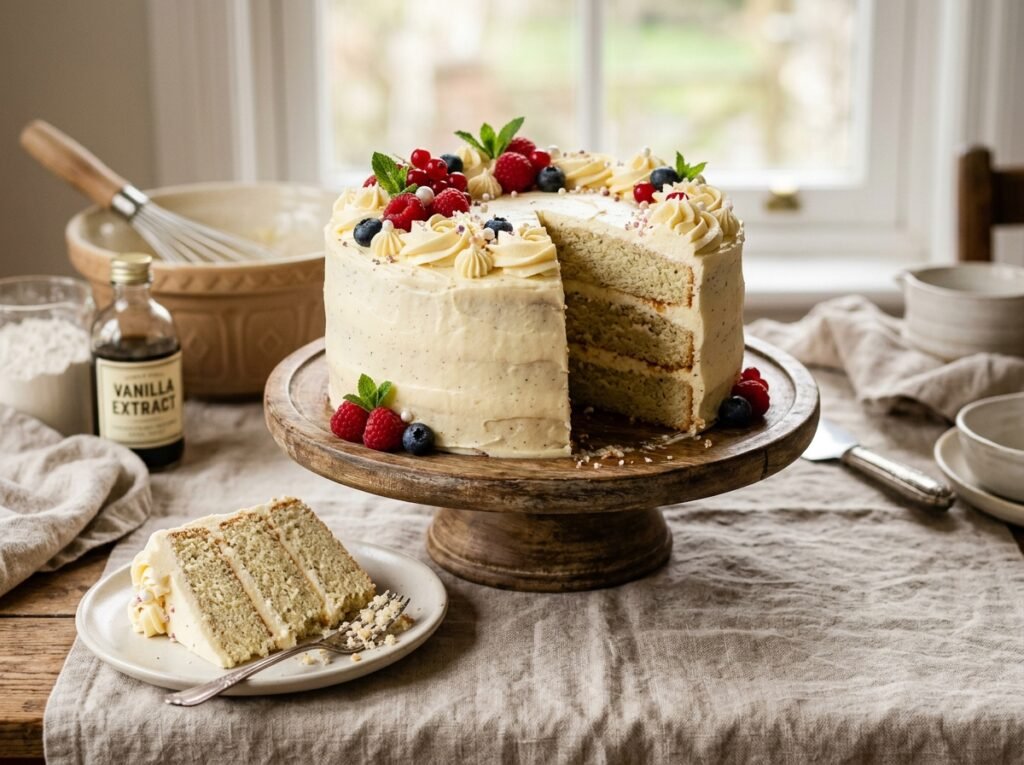
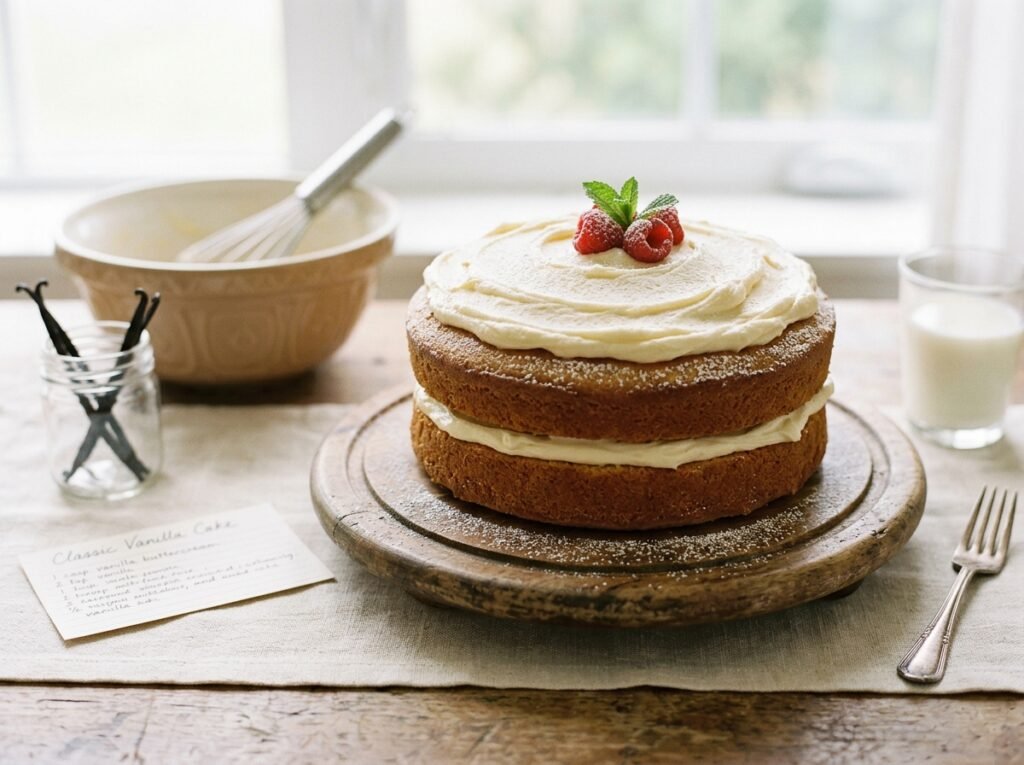
- Heilala Vanilla Bean Paste: Vanilla extract is mostly alcohol that burns off in the heat. Bean paste contains the actual seeds and a thicker concentration of vanillin. You want those tiny black specks visible in the final slice—it signals to the eater that this isn’t a box mix.
- Whole Milk and Full-Fat Sour Cream: Never use skim or 2% milk. We need the lactic acid in sour cream to break down gluten and provide a slight tang that balances the sugar.
- European-Style Butter (Plugra or Kerrygold): Standard American butter is about 80% butterfat. European butter is 82-85%. That extra 2-5% is the difference between a « good » cake and a « rich » cake. It also has a lower water content, which prevents the cake from shrinking.
The Walkthrough
Phase 1: The Dry Emulsion (Prep)
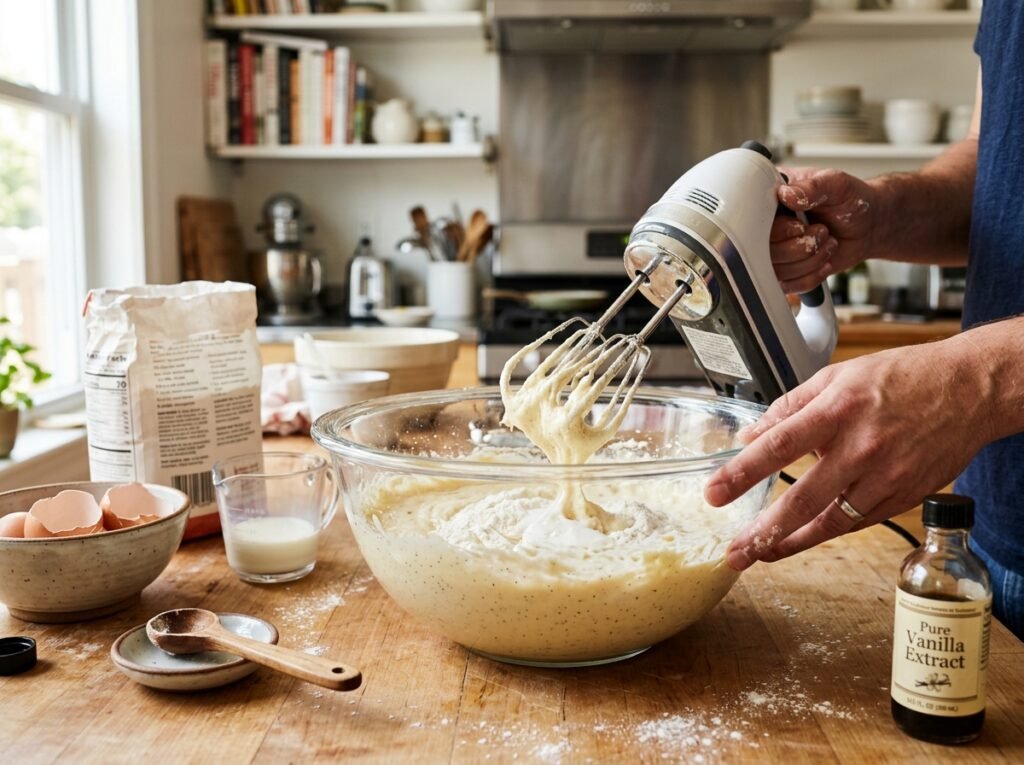
- Sift your cake flour, granulated sugar, baking powder, and fine sea salt into the bowl of a stand mixer. Sifting is mandatory—it aerates the flour and removes clumps that the paddle attachment won’t catch.
- Add your room-temperature butter one tablespoon at a time while the mixer is on low.
- Visual Cue: Continue mixing until the mixture looks like fine, damp sand. There should be no visible chunks of butter larger than a grain of rice.
Pro-Tip: Ensure your butter is exactly 65°F. If it’s too cold, it won’t coat the flour; if it’s too oily/melted, the cake will be greasy and heavy.
Phase 2: The Liquid Integration (The Cook)
- In a separate jug, whisk together your eggs, sour cream, milk, and vanilla bean paste.
- With the mixer on medium-low, pour in half of the liquid. Let it mix for 60 seconds to build the cake’s structure.
- Add the remaining liquid in two stages, scraping the bottom of the bowl with a silicone spatula after each addition.
- Visual Cue: The batter should look like thick, glossy ribbons. It should be pale ivory, not stark white.
Pro-Tip: Do not over-mix after the final addition of liquid. You only want to mix until the streaks of flour disappear. Every extra second develops gluten.
Phase 3: The Bake and Finish
- Grease two 8-inch cake pans and line the bottoms with parchment paper. Do not skip the parchment; vanilla cakes are delicate and will stick to the best « non-stick » pans.
- Bake at 325°F (163°C). Most recipes call for 350°F, but the lower temperature prevents the edges from browning before the center is set.
- Visual Cue: The cake is done when the edges just start to pull away from the side of the pan and the center springs back when lightly pressed. A toothpick should come out with a few moist crumbs, not wet batter.
Pro-Tip: Tap the pans firmly on the counter before sliding them into the oven. This forces large air pockets to the surface so they don’t create « tunnels » in your cake.
Troubleshooting Table
| What Went Wrong | How to Fix It Next Time |
| Cake peaked in the middle and cracked | Your oven is too hot. Use an oven thermometer to verify the temp and drop it to 325°F. |
| Dense, rubbery texture | Over-mixing. Stop the mixer the moment the last streak of milk is incorporated. |
| Cake collapsed after cooling | Under-baked or too much baking powder. Check your measurements with a gram scale. |
| Coarse, « open » crumb | Butter was too cold during the creaming process, creating uneven air pockets. |
Storage & Reheating
Vanilla cake is a sponge; it will absorb odors from your fridge if not handled correctly.
- Room Temperature: Wrap the cooled layers tightly in professional-grade plastic wrap (Saran Premium). It will stay fresh for 48 hours on the counter.
- Refrigeration: If frosted with buttercream, store in an airtight glass cake dome. If the cake is sliced, press a piece of parchment paper directly against the exposed cake « face » to prevent it from drying out.
- Freezing (Best for Flavor): Wrap individual un-frosted layers in a double layer of plastic wrap and then a layer of aluminum foil. Thaw in the fridge overnight—don’t thaw on the counter or condensation will make the surface gummy.
Recipe Card Summary
- Prep Time: 25 Minutes
- Bake Time: 30–35 Minutes
- Yield: Two 8-inch round layers (12-16 servings)
- Equipment Required: Stand mixer with paddle attachment, 8-inch cake pans, parchment paper, fine-mesh sifter, digital gram scale.
Ingredients (Metric)
- 345g Cake Flour (Sifted)
- 350g Granulated Sugar
- 12g Baking Powder
- 5g Fine Sea Salt
- 225g European Butter (Room Temp)
- 240g Whole Milk (Room Temp)
- 120g Full-Fat Sour Cream
- 3 Large Eggs (Room Temp)
- 15g Vanilla Bean Paste
Final Execution Note
To achieve the Bakery-Style Results mentioned in our 7 Secret Vanilla Cake Recipes, you must weigh your ingredients. A « cup » of flour can vary by 20-30 grams depending on how you scoop it, which is the difference between a light cake and a brick. Switch to metric measurements for consistency every single time.