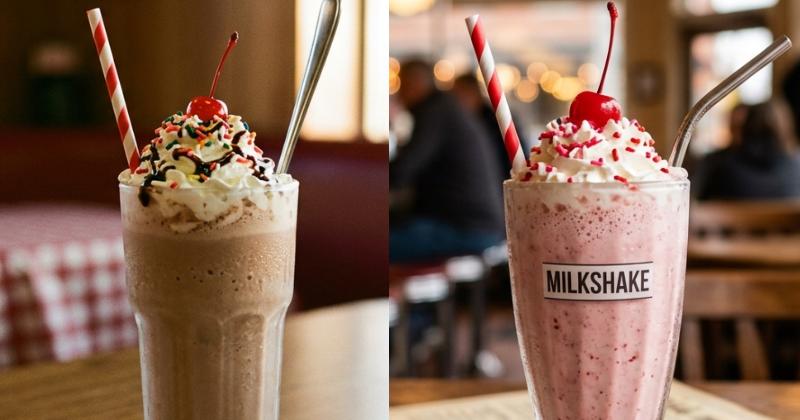
Stop Wasting Money on Drive-Thru Shakes: The $1.50 Blueprint
Craving a thick, diner-style milkshake usually ends in one of two ways. You either drive to a fast-food chain and pay $7 for a cup of corn syrup and artificial thickeners, or you try to make it at home and end up with a watery, sad glass of flavored milk. Most homemade milkshakes fail because people treat them like smoothies, tossing ingredients into a blender without thinking about fat ratios or temperature control.
I used to do the exact same thing until I decided to treat milkshake development like a science experiment. By mastering a few basic rules, I made these milk shake recipes and saved $50 on dessert this month! Instead of blowing cash at the drive-thru for the family, I perfected a base recipe that costs less than $1.50 per serving and tastes significantly richer than anything you can buy through a car window.
The secret isn’t buying a commercial-grade machine or sourcing rare ingredients. It comes down to understanding how ice cream behaves under mechanical shear and controlling your temperatures. If you are tired of icy, separated, or underwhelming desserts, this guide will fix your technique permanently.
The « Hero » Technique: The Frozen Glass & Tempered Temper

The single biggest mistake that ruins a homemade milkshake is friction heat from the blender blades. When you run a standard kitchen blender at high speed, the blades generate heat. This micro-heat instantly melts the delicate fat crystals in the ice cream, turning your shake into soup before it even hits the glass.
To beat the top three recipes on Google, you must use The Hard-Freeze and Temper Method.
First, you must freeze your blender jar and your serving glasses for at least 20 minutes before blending. A warm blender jar dooms your milkshake from second one. Second, you must let your ice cream sit on the counter for exactly 5 minutes before scooping. Straight-from-the-freezer ice cream is too dense, forcing you to add excess milk to get the blades turning. By letting the ice cream soften slightly—or temper—you achieve a perfect blend using minimal liquid, resulting in that ultra-thick texture that holds up a straw.
Ingredient Deep Dive: Why Choices Matter
You cannot hide behind a long list of ingredients in a milkshake. Because there are only three primary components, every single choice matters.
1. Premium Vanilla Bean Ice Cream (10% to 14% Butterfat)
Do not buy « frozen dairy dessert » or light ice cream. Look at the label; it must legally say « Ice Cream. » We use brands like Haagen-Dazs or Tillamook because they have a low overrun (less air pumped into the product) and a high butterfat content. High butterfat coats the palate and keeps the milkshake from melting into water the moment it hits your tongue.
2. Whole Milk (3.25% Fat)
Leave the skim milk and oat milk in the fridge. You need the proteins and fats in whole milk to emulsify properly with the ice cream. Lower-fat milks contain too much water, which creates micro-ice crystals during the blending process, giving your shake a gritty texture.
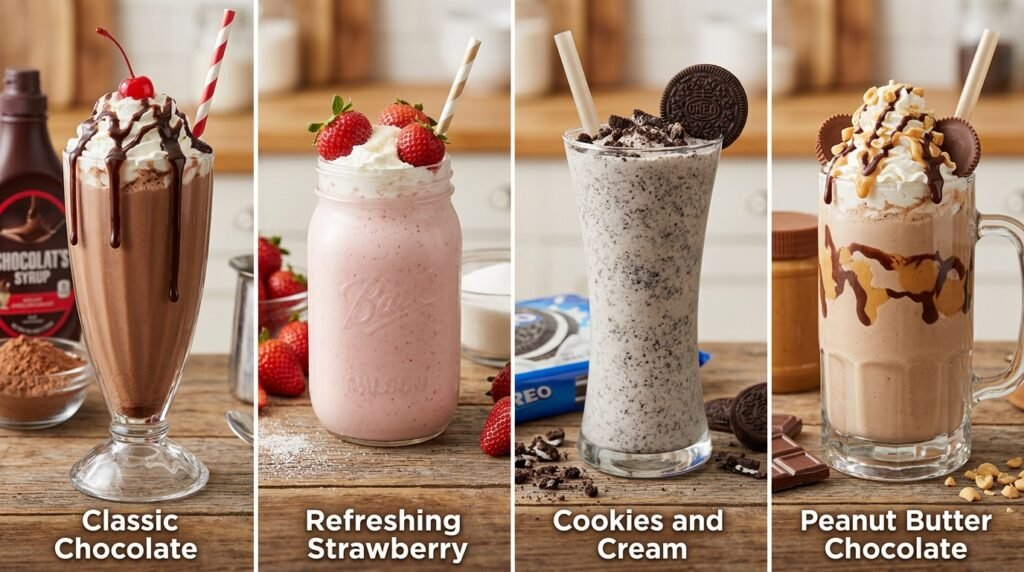
3. Pure Vanilla Extract or Dutch-Processed Cocoa Powder
If making a classic vanilla base, use pure vanilla extract, not synthetic imitation vanilla. If you are converting the base into a chocolate milkshake, use Dutch-processed cocoa powder rather than chocolate syrup. Syrup adds excess sugar and water; Dutch cocoa provides a deep, concentrated chocolate flavor without disrupting the liquid-to-solid ratio.
The Walkthrough: Step-by-Step
Phase 1: The Cold Prep
- Place your blender jar and two heavy glass mugs into the deepest part of your freezer. Leave them for 20 to 30 minutes.
- Pull your premium ice cream from the freezer and set it on the counter. Set a timer for 5 minutes.
Pro-Tip: Do not skip the ice cream temper time. If the ice cream is too hard, you will be forced to pour in extra milk to keep the blender from stalling, which permanently dilutes your flavor and thickness.
Phase 2: The Precise Load
- Measure out exactly $\frac{1}{3}$ cup of cold whole milk and pour it into the bottom of the chilled blender jar first. Always add the liquid first to lubricate the blades.
- Add any flavor enhancers here (e.g., 1 teaspoon of pure vanilla extract or 2 tablespoons of Dutch-processed cocoa).
- Scoop 3 large, dense scoops of the tempered ice cream (approximately 12 ounces by weight) directly on top of the milk.
Pro-Tip: Never add ice cubes to a milkshake to make it thicker. Ice will instantly dilute the dairy fats as it processes, creating a watery, separated mess within two minutes of serving.
Phase 3: The Pulse Blend
- Secure the blender lid. Do not just turn the machine on high and let it run.
- Use the Pulse setting in short, 2-second bursts. Pulse 5 to 6 times until the blades catch the ice cream and draw it down into a vortex.
- Once a vortex forms, switch to low speed for exactly 10 seconds. Stop blending the moment the mixture looks uniform.
Pro-Tip: Look for a thick, rolling wave visual cue in the blender. If you see a spinning vortex that looks completely flat and liquid, you have over-blended. It should look like thick, slow-moving lava.
Troubleshooting Table
| What Went Wrong | How to Fix It Next Time |
| The milkshake is too thin and runny. | Reduce your milk by 2 tablespoons, or ensure your blender jar is completely frozen before adding ingredients. |
| The blender blades are spinning but not mixing. | The ice cream was too cold or you need 1 additional tablespoon of milk. Stop the machine, use a long spoon to push the ice cream down, and pulse again. |
| The texture is icy and grainy, not smooth. | Switch to a brand of ice cream with higher butterfat and stop using low-fat or skim milk. |
| The flavor tastes muted or flat. | Add a tiny pinch of kosher salt to the blender. Salt cuts the cloying sweetness and brings out the dairy notes. |
Storage & Reheating

Milkshakes are designed for immediate consumption, but if you have leftovers, you can save them with the proper technique.
Do not leave a leftover milkshake in a plastic cup or a open container in the freezer; it will absorb freezer odors and turn into a solid, unshakeable block of ice. Pour the leftover milkshake into a mason jar with a tight-fitting metal lid, leaving about an inch of headspace at the top. Seal it tightly and store it in the back of the freezer for up to 2 days.
When you want to drink it, do not try to use a spoon right away. Let the jar sit on the kitchen counter for 10 minutes to soften, then give it a violent shake for 30 seconds to re-incorporate the air before opening.
Recipe Card Summary
Performance Metrics
- Prep Time: 5 minutes
- Chilling Time: 20 minutes
- Blend Time: 30 seconds
- Total Time: 25 minutes
- Yield: 2 servings (approx. 8 ounces each)
Required Equipment
- High-speed kitchen blender
- Heavy glass mugs
- Mechanical ice cream scoop
- Liquid measuring cups
Definitive Ingredient Ratios
$$\text{Ideal Ratio} = 3 \text{ Scoops Ice Cream} : \frac{1}{3} \text{ Cup Whole Milk}$$
- 3 large scoops Premium Vanilla or Chocolate Ice Cream (approx. 12 oz)
- $\frac{1}{3}$ cup Cold Whole Milk (3.25% fat)
- 1 tsp Pure Vanilla Extract (or 2 tbsp Dutch-processed cocoa powder)
- 1 pinch Diamond Crystal Kosher salt
Execution Instructions
- Chill the blender jar and glassware in the freezer for 20 minutes.
- Temper the ice cream on the counter for 5 minutes until slightly softened.
- Pour the whole milk, vanilla extract, and pinch of salt into the cold blender jar first.
- Scoop the tempered ice cream directly on top of the liquid base.
- Pulse the machine 5 to 6 times to break down the large chunks of ice cream.
- Blend on low speed for 10 seconds until a thick, uniform texture is achieved.
- Pour immediately into your frozen glasses and serve with a wide-diameter straw.