
Why Most Homemade Crepes Fail (And How to Fix It)
Most homemade crepes are a disappointment. They either turn out rubbery, thick like pancakes, or they tear to shreds the second you try to flip them. If you have ever tried making French crepe recipes you have to make tonight, you have likely run into the classic first-pan failure: that sacrificial crepe that sticks, clumps, and ends up in the trash.
The problem isn’t your pan, and it usually isn’t your spatula. The failure happens in the science of your batter. Standard recipes tell you to whisk flour, milk, and eggs together and pour them straight into hot butter. This is a mistake. Unrested batter contains activated gluten strands and trapped air bubbles. When that hitting the heat, the gluten tightens up, turning your delicate French pastry into a chewy, rubbery disc.
To get that melt-in-your-mouth texture with lace-like, crispy edges, you must control the starch hydration and the pan temperature. This recipe eliminates the guesswork, skips the useless filler steps, and delivers paper-thin, buttery crepes on your very first try.
The « Hero » Technique: The 30-Minute Cold Rest

The single most critical step in this recipe is a mandatory 30-minute refrigerator rest for the blended batter.
[ Whisk/Blend Batter ] ➔ [ 30-Minute Cold Rest ] ➔ [ Perfect Hydration & Relaxed Gluten ]
When you mix flour with liquid, you develop gluten proteins. If you cook the batter immediately, those tight proteins trap moisture, causing the crepe to puff up and turn rubbery. Resting allows the gluten strands to fully relax.
Simultaneously, the starch granules in the all-purpose flour use this time to absorb the milk and melted butter completely. This full hydration creates a uniform, silky viscosity. When the rested batter hits the hot pan, it flows effortlessly across the surface before setting, allowing you to achieve that signature paper-thin thickness without tearing.
Ingredient Deep Dive: Choose Precision
Every ingredient in a crepe serves a structural purpose. Do not sub them out randomly.
- All-Purpose Flour (Bleached or Unbleached): We use standard all-purpose flour here because it hits the exact middle ground of protein content (around 10–11%). Do not use bread flour, which develops too much structure, or cake flour, which lacks the strength to hold together when flipped.
- Whole Milk: Do not use skim milk or water. Whole milk provides the necessary fat and natural sugars that caramelize against the pan, giving you those beautiful golden-brown spots (called « leoparding »).
- Unsalted Butter (Melted and Cooled): Whisking melted butter directly into the batter creates a built-in release agent. We use Land O’Lakes unsalted butter to control the salt levels precisely.
- Fine Sea Salt: Use fine sea salt, not coarse kosher salt or iodized table salt. Fine sea salt dissolves completely into the cold milk, ensuring uniform seasoning without leaving salty pockets in the batter.
- Large Eggs: Eggs provide the structure and lift. Ensure they are at room temperature so they emulsify cleanly with the melted butter without causing it to seize up into tiny solid beads.
The Walkthrough (Step-by-Step)
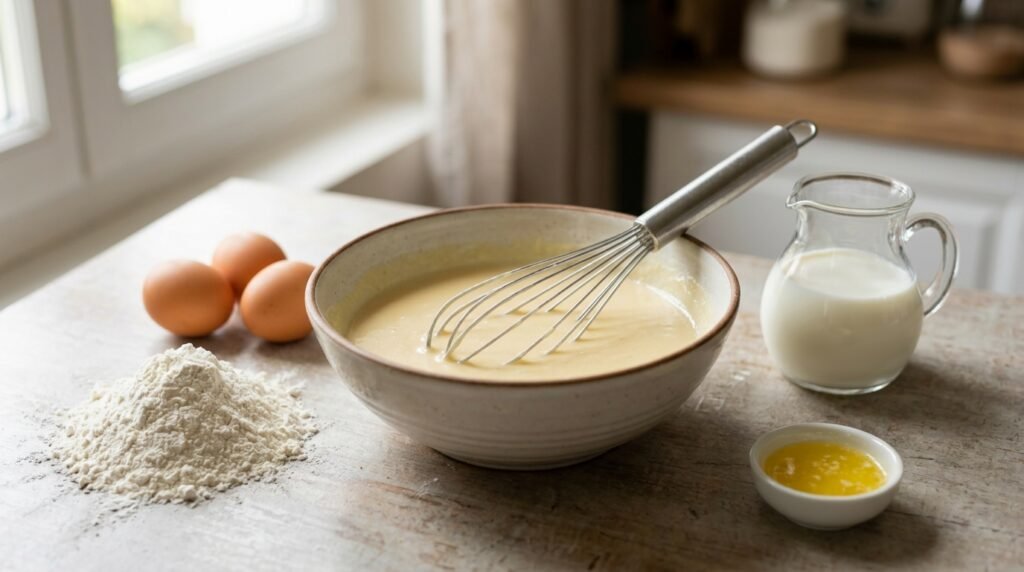
Phase 1: The Batter Mix & Rest
- Add 1 cup of all-purpose flour, 2 room-temperature eggs, 1.25 cups of whole milk, 2 tablespoons of melted (and cooled) unsalted butter, and 0.25 teaspoon of fine sea salt into a high-speed blender.
- Blend on high for exactly 15 seconds until completely smooth.
- Pour the mixture through a fine-mesh strainer into a glass bowl to catch any unblended flour pockets.
- Cover the bowl tightly and place it in the refrigerator for at least 30 minutes.
Pro-Tip: If you do not have a blender, whisk the eggs and flour together first to form a thick paste, then slowly drizzle in the milk. This mechanical friction breaks up flour lumps much better than dumping all the liquid in at once.
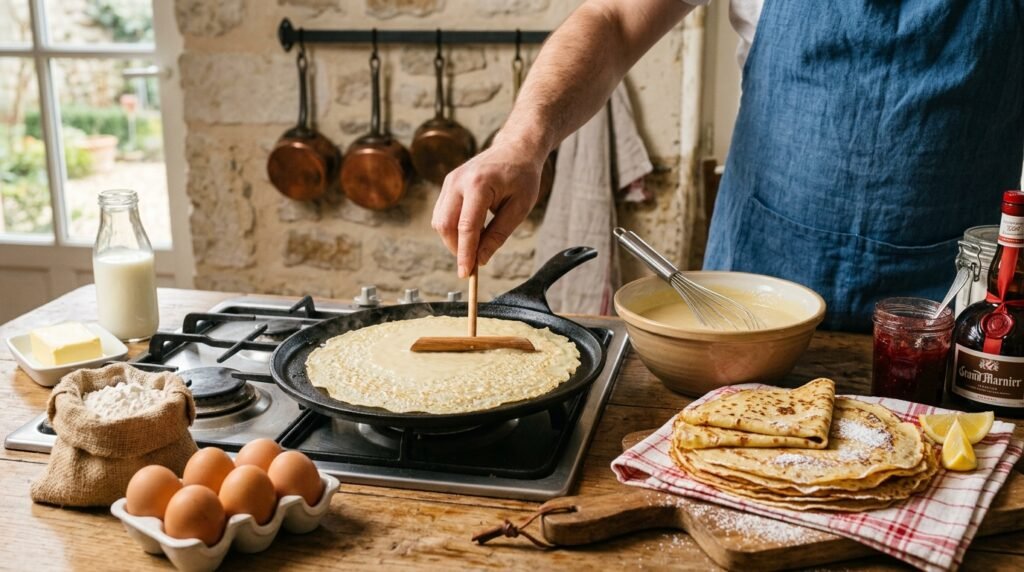
Phase 2: Pan Setup & The Cook
- Place an 8-inch non-stick skillet or a seasoned carbon steel crepe pan over medium heat.
- Melt half a teaspoon of unsalted butter in the pan. Use a crumpled paper towel to wipe nearly all of it out. The pan should look matte, not greasy.
- Lift the pan completely off the heat source. Hold it at a slight downward angle.
- Pour exactly 3 tablespoons (just under a quarter-cup) of batter directly into the center of the pan.
- Immediately swirl the pan in a circular motion so the batter runs to the outer edges in a thin, even layer.
Visual Cue: Look for the glossy surface of the batter to turn completely matte. The edges will begin to dry out, curl up slightly, and turn a light golden color. This takes about 50 to 60 seconds.
[ Pour Batter in Center ] ➔ [ Lift & Swirl Pan ] ➔ [ Cook 60s Until Matte ] ➔ [ Flip & Finish 30s ]
Phase 3: The Flip and Finish
- Slide a thin, flexible silicone or offset spatula under the edge of the crepe to loosen it.
- Grasp the edges of the crepe with your fingertips (be careful, it is hot) and flip it over in one quick motion.
- Cook the second side for exactly 20 to 30 seconds.
Visual Cue: The second side will not brown uniformly like the first; instead, it will develop a spotted, dappled appearance. Slide the finished crepe onto a flat plate.
Pro-Tip: Stack the hot crepes directly on top of each other as you cook them. The trapped steam keeps them soft, pliable, and prevents the edges from turning into brittle chips.
Troubleshooting Common Errors
| What Went Wrong | Why It Happened | How to Fix It Next Time |
| The crepe is full of holes. | The pan was too hot, causing the batter to cook and seize before it could coat the surface. | Lower the heat slightly and let the pan cool for 30 seconds off the burner before pouring the next batch. |
| The crepe is thick and rubbery. | The batter was too thick or it was not allowed to rest in the fridge. | Whisk 1 to 2 tablespoons of extra milk into the batter to thin it out, and ensure it rests for 30 minutes. |
| The crepe tears when flipping. | The pan lacked sufficient fat, or you tried to flip it before the structure fully set. | Wait until the edges are completely dry and releasing from the pan naturally before inserting your spatula. |
Storage & Reheating Instructions

Do not leave cooked crepes sitting out uncovered on the counter; they dry out within minutes.
In the Refrigerator
Allow the stack of crepes to cool completely to room temperature. Wrap the entire stack tightly in plastic wrap, then place it inside a heavy-duty gallon-sized Ziploc bag. Store for up to 3 days.
In the Freezer
Layer small squares of parchment paper between each crepe to prevent them from fusing together. Wrap the stack in aluminum foil, place it in a freezer-safe bag, and freeze for up to 2 months. Thaw completely in the refrigerator overnight before attempting to separate them.
Reheating
Avoid the microwave; it makes the crepes rubbery. Instead, heat a non-stick skillet over medium-low heat. Place a single crepe in the dry pan for 15 to 20 seconds per side just until warmed through and pliable.
Recipe Card Summary
Equipment Needed
- High-speed blender or large balloon whisk
- Fine-mesh strainer
- 8-inch non-stick skillet or traditional crepe pan
- Flexible silicone or offset spatula
Time & Yield
- Prep Time: 5 minutes
- Rest Time: 30 minutes
- Cook Time: 15 minutes
- Total Time: 50 minutes
- Yield: 10 to 12 thin crepes