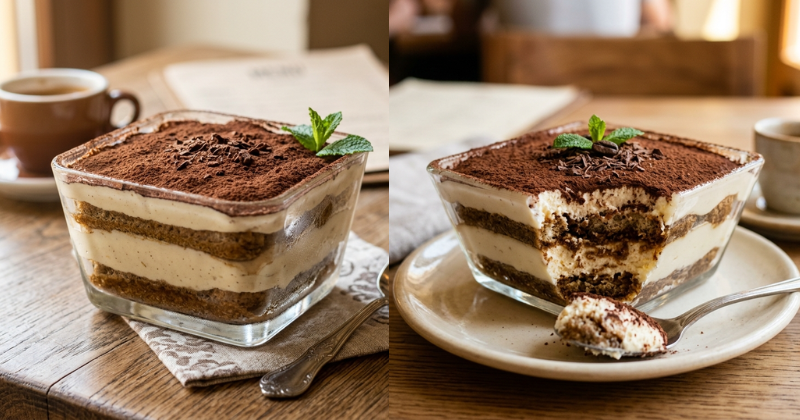
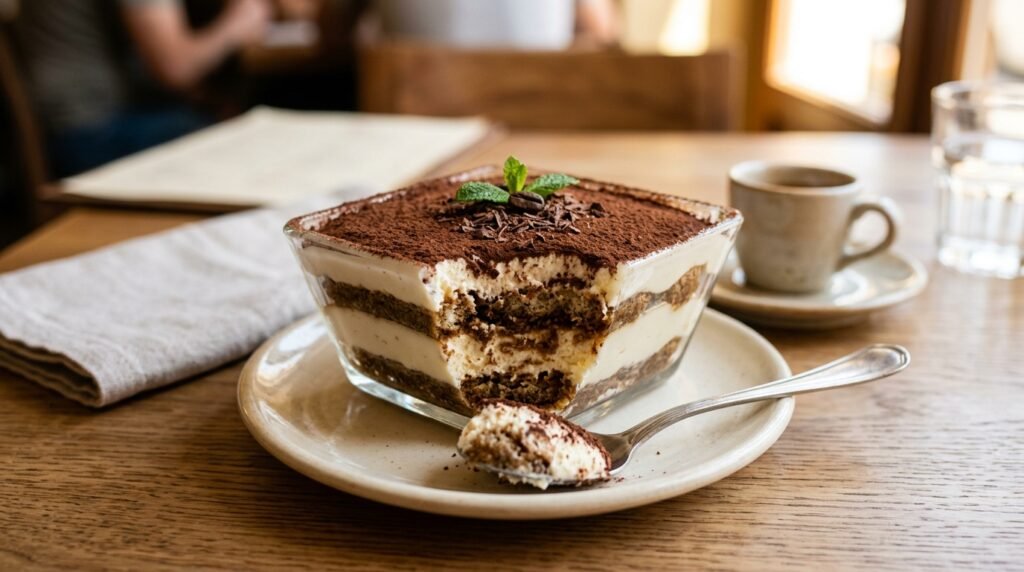
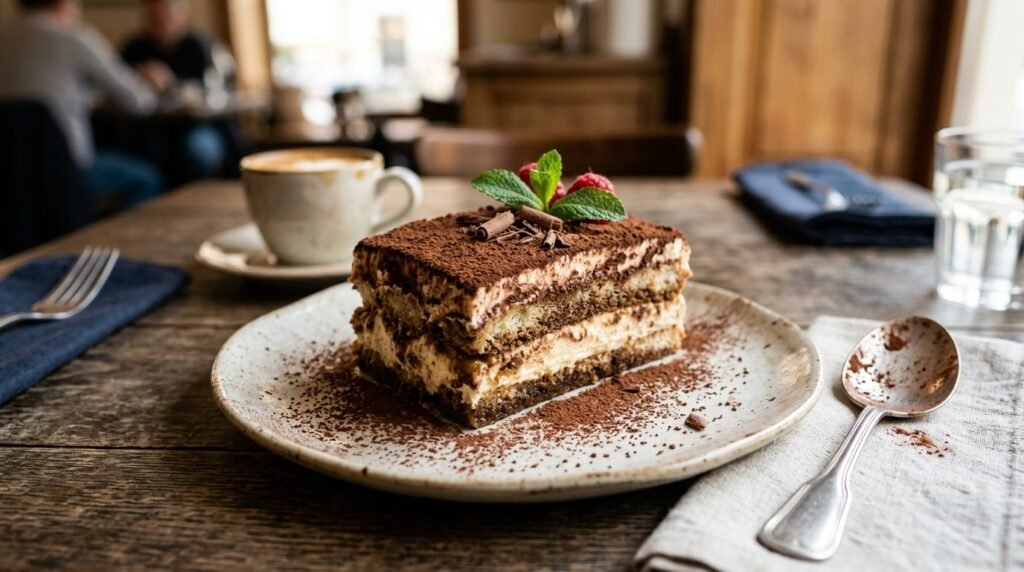
Stop Serving Soggy Tiramisu: The Summer 2026 Blueprint
Most homemade tiramisu is a soggy, structural disaster. You follow a random blog recipe, and by the time you serve it, the ladyfingers have dissolved into a gritty mush and the mascarpone cream is weeping water across the plate. It’s frustrating, messy, and frankly, a waste of expensive ingredients.
If you want The Must-Have Tiramisu Recipe Dessert to Make Before Summer Ends, you have to stop treating it like a simple assembly job. The problem isn’t your skill; it’s the physics of your soak. Most people dunk their biscuits like they’re trying to drown them. In the heat of late summer, a moisture-heavy dessert loses its integrity even faster. This recipe fixes the « mush factor » by focusing on protein coagulation and osmotic balance. We aren’t just layering cookies and cream; we are building a stable, chilled mousse cake that holds its shape from the fridge to the patio table.
This version is specifically designed for the humidity of August. It hits the craving for something cool and caffeinated without the heavy, cloying sweetness of a standard supermarket cake. We’re solving the structural integrity issue while maximizing the punch of the espresso.
The « Hero » Technique: The Sabayon Stabilization
The secret to a tiramisu that stands tall—even after sitting out for twenty minutes—is the Triple-Whisked Sabayon.
Top Google results often tell you to fold raw egg whites or whipped cream into cold mascarpone. This is a mistake. Raw whites leak moisture (syneresis), and cold mascarpone is prone to « breaking » or turning grainy if over-mixed.
Our method involves whisking egg yolks and sugar over a simmering water bath (bain-marie) until they reach 160°F (71°C). This isn’t just for food safety. Heating the yolks denatures the proteins, creating a thick, pale ribbon stage that acts as a powerful emulsifier. When you fold this warm, stable base into your mascarpone, it creates a molecular bond that prevents the fat from separating. The result is a cream that is aerated but dense enough to resist the moisture of the coffee-soaked ladyfingers. It stays firm, period.
Ingredient Deep Dive: Why These Brands Matter
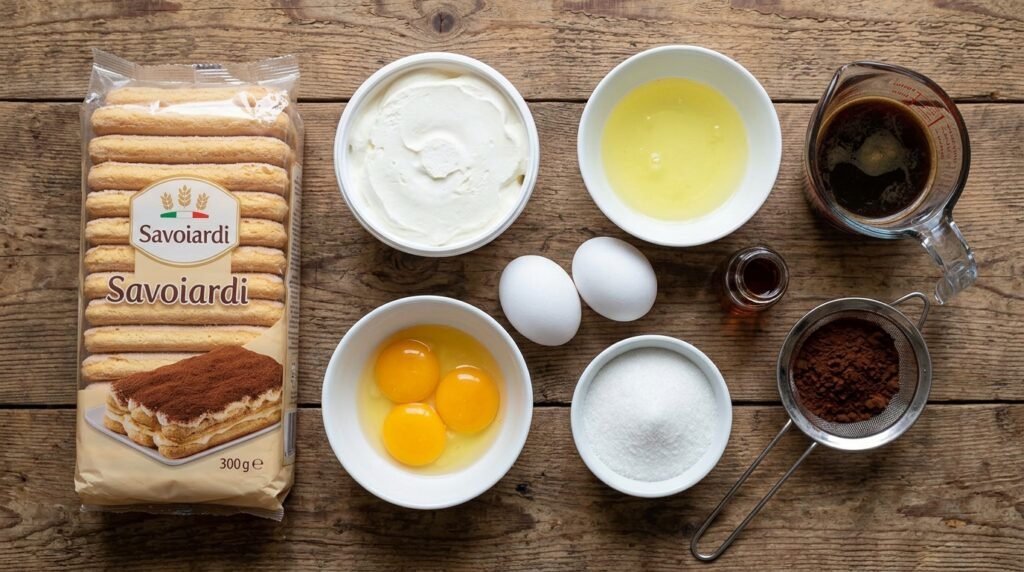
Don’t go cheap here. Tiramisu is a raw-assembly dessert; there is no baking to hide mediocre ingredients.
- Mascarpone: Use Galbani Professionale or BelGioioso. Avoid store brands, which often have a higher water content and lower butterfat. You need the 40%+ fat content to ensure the cream sets.
- Ladyfingers (Savoiardi): Buy Forno Bonomi or Vicenzovo. These are « bone-dry » Italian biscuits. Do not use the soft, cake-like ladyfingers found in the bakery section of grocery stores. They will turn to soup instantly.
- Espresso: Use a dark roast like Illy Intenso. If you don’t have an espresso machine, use a moka pot. Do not use standard drip coffee; it lacks the viscosity and bitterness needed to cut through the heavy fat of the cheese.
- Cocoa Powder: Use Valrhona or Guittard Dutch-processed cocoa. Natural cocoa is too acidic and light. You want the deep, alkalized chocolate flavor to provide a bitter contrast to the sugar.
- Alcohol: Use Pellegrino Marsala Superiore. Don’t use « Cooking Marsala » (which is loaded with salt). If you prefer rum, use a dark, aged variety like Diplomático—avoid spiced rums which clash with the espresso.
The Walkthrough
Phase 1: The Infusion (Prep)
- Brew 2 cups of strong espresso. While hot, stir in 2 tablespoons of granulated sugar and 3 tablespoons of Marsala.
- Crucial: Pour the coffee into a shallow wide-rimmed bowl and let it come to room temperature. Never dip biscuits into hot coffee; the heat accelerates the breakdown of the starch, leading to instant sogginess.
Pro-Tip: Taste your coffee mixture. It should be unpleasantly strong on its own. Once it competes with the fat and sugar in the cream, the flavor will mellow significantly.
Phase 2: The Sabayon and Cream
- In a heatproof glass bowl, combine 6 large egg yolks and ¾ cup sugar. Place over a pot of barely simmering water (ensure the water doesn’t touch the bowl).
- Whisk constantly for about 6–8 minutes. Visual Cue: The mixture should triple in volume, turn a pale buttercream yellow, and form a thick « ribbon » when the whisk is lifted.
- Remove from heat. Let it cool for 5 minutes, then whisk in 16 oz (two tubs) of room-temperature mascarpone. Do not over-beat, or the cheese will turn to butter.
- In a separate bowl, whip 1 cup of heavy cream to stiff peaks. Gently fold the whipped cream into the mascarpone mixture using a rubber spatula.
Pro-Tip: Make sure your mascarpone is at room temperature. If it’s fridge-cold when it hits the warm yolks, it will clump into tiny white pebbles that are impossible to smooth out.
Phase 3: The Assembly (The Finish)
- The Two-Second Rule: Grab a ladyfinger. Submerge it in the coffee for exactly one second on one side, flip, and one second on the other. It should feel dry in the very center. It will continue to soften as it sits in the fridge.
- Line a 9×13 inch glass dish with the soaked biscuits. Pack them tight.
- Spread half the cream over the biscuits. Sieve a heavy layer of cocoa powder over the cream.
- Repeat with a second layer of soaked biscuits and the remaining cream.
- Visual Cue: The top should be smoothed with an offset spatula but doesn’t need to be perfect; the final cocoa dusting covers all sins.
Pro-Tip: Do not dust the final layer of cocoa until right before serving. If you do it before chilling, the cocoa will absorb moisture from the cream and turn into a dark brown sludge.
Troubleshooting Table
| What Went Wrong | How to Fix It Next Time |
| Puddles of liquid at the bottom. | You soaked the ladyfingers too long or used drip coffee instead of espresso. Stick to the 2-second dunk. |
| The cream is grainy/gritty. | You over-mixed the mascarpone or the mascarpone was too cold. Mix until just combined. |
| The slices collapse when cut. | The dessert didn’t chill long enough. It needs a minimum of 6 hours (ideally 24) for the proteins to set. |
| Too sweet, lacks depth. | Increase the salt in the espresso soak and use a higher-quality dark cocoa powder. |
Storage & Safety

Never leave tiramisu at room temperature for more than 30 minutes. Because of the egg yolks and dairy, it is a high-risk food for bacterial growth in summer heat.
- Storage: Cover the glass dish tightly with plastic wrap, ensuring the wrap does not touch the surface of the cream (use toothpicks to tent it if necessary).
- Shelf Life: It is best on Day 2. It remains safe to eat for 3 days. Beyond that, the ladyfingers lose all structural integrity and the dish becomes a trifle.
- Freezing: You can freeze tiramisu for up to 2 weeks. Wrap it in a double layer of foil. Thaw in the refrigerator for 8 hours before serving. Do not thaw on the counter.
Recipe Card Summary
- Prep Time: 45 Minutes
- Chilling Time: 6 – 24 Hours
- Yield: 12 Generous Slices
- Equipment Needed: 9×13 inch glass baking dish, Fine-mesh sieve, Standing mixer or hand beaters, Heatproof glass bowl, Large rubber spatula.
Key Step Reminder:
- Heat yolks to 160°F.
- Room temp mascarpone.
- 2-second soak.
- Dust cocoa at the table.
This is the definitive version for your end-of-summer gatherings. It’s sharp, structured, and carries the weight of a professional pastry shop dessert. Stop settling for soggy cake; build it right.