Stop Settling for Cakey, Box-Like Brownies
Most brownie recipes fail because they can’t decide what they want to be. You end up with a middle-ground texture that is too dry to be fudge and too dense to be cake. If your brownies consistently come out looking like a sponge or, conversely, a greasy puddle of oil that never sets, you’re likely over-mixing the flour or using a fat-to-sugar ratio that belongs in 1995.
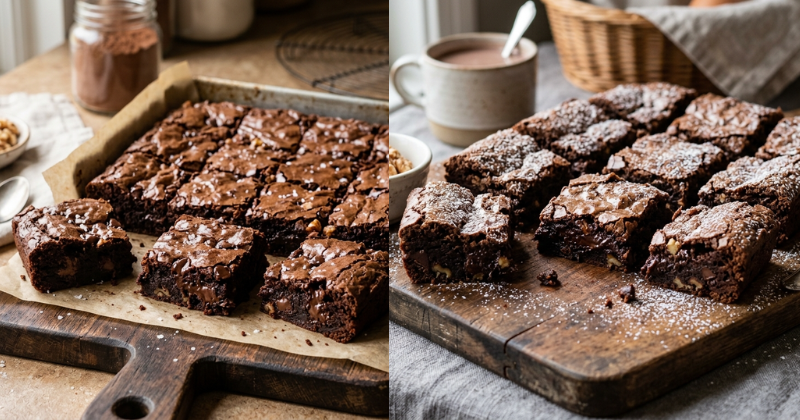
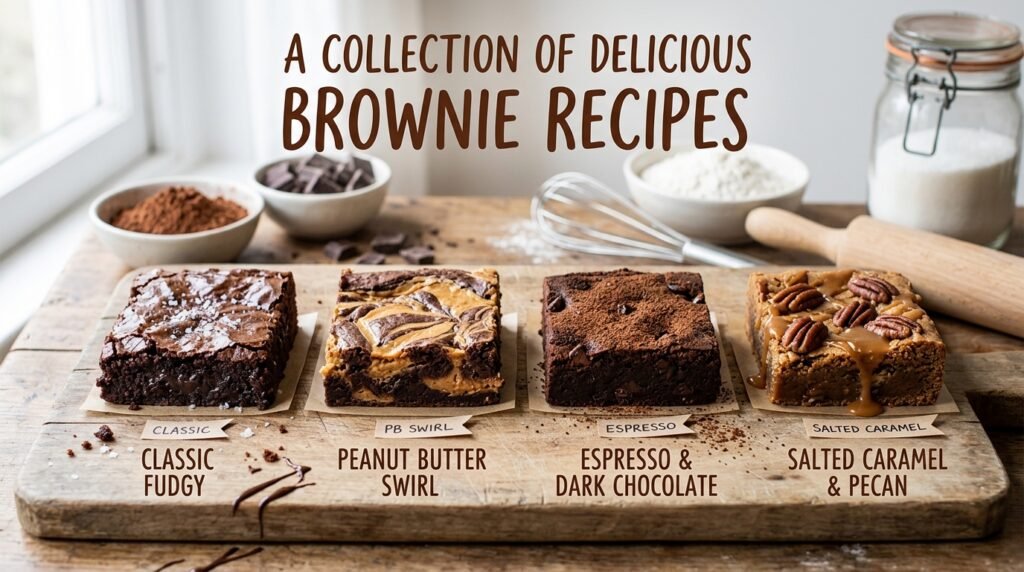
The biggest mistake I see—and one highlighted in my 5 Top Brownies Recipes You Need for 2026—is the reliance on chemical leaveners like baking powder. If you want a real brownie, throw the baking powder away. A true brownie should rely on air whipped into eggs for its lift, creating that iconic crackle-top skin rather than a domed, muffin-like surface. We are solving for the « greasy hand » problem and the « dry crumb » problem in one go. This recipe focuses on a tight crumb, an intense chocolate profile, and a texture so fudgy it sticks to the roof of your mouth.
The « Hero » Technique: The Sugar-Egg Emulsion

The secret to a world-class brownie isn’t the brand of chocolate; it’s how you handle the eggs and sugar. Most people just stir them in. To get that paper-thin, shiny, crackly top, you must dissolve the sugar completely into the eggs before adding the fat.
Why this works: When you whisk eggs and granulated sugar vigorously for 3-5 minutes, you create a stable foam. More importantly, the sugar liquefies. If the sugar remains in crystal form when the pan hits the oven, you get a grainy brownie. If it’s fully dissolved into an emulsion, it migrates to the surface as the brownie bakes, creating a literal layer of meringue on top. This creates the structural contrast between the shattering top layer and the dense, ganache-like center.
Ingredient Deep Dive: Choose Your Weapons
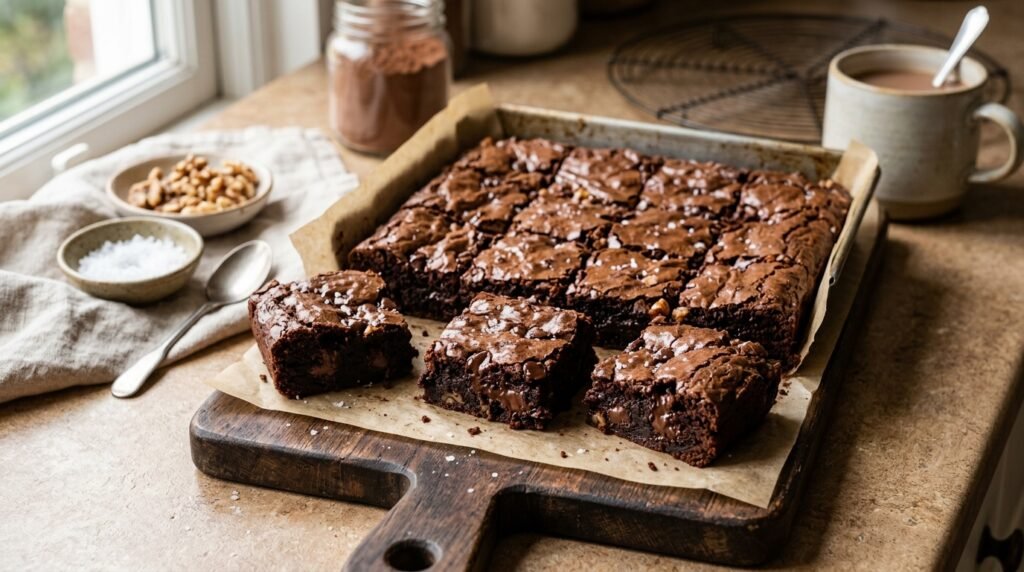
- Valrhona or Guittard 60% Cacao: Do not use « baking chips. » Chips contain stabilizers like soy lecithin that prevent them from melting smoothly. Use a high-quality bar and chop it by hand.
- European-Style Butter (e.g., Kerrygold): American butter is about 16-18% water. European butter has a higher fat content and less water, which is vital for preventing a « cakey » steam-rise.
- Dutch-Processed Cocoa Powder: We aren’t using baking soda, so we don’t need the acidity of natural cocoa (like Hershey’s). Dutch-processed cocoa (like Droste) is treated with alkali, giving it a darker color and a smoother, more « oreos-and-cream » depth.
- Diamond Crystal Kosher Salt: Use this specifically. It has larger flakes and lower density. If you swap in table salt, use half the amount or you will ruin the batch with a harsh, chemical saltiness.
- Espresso Powder: This isn’t to make the brownies taste like coffee. It acts as a bio-hack for your taste buds, intensifying the perception of bitterness and richness in the chocolate.
The Walkthrough
Phase 1: The Melt and The Whip
Start by melting 225g of unsalted European butter with 200g of chopped 60% chocolate in a glass bowl over a simmering pot of water. Once smooth, whisk in 30g of Dutch-processed cocoa powder and 1 tablespoon of espresso powder. Set this aside to cool slightly.
In a separate large bowl, combine 3 large cold eggs, 200g white sugar, and 100g dark brown sugar.
Pro-Tip: Use a stand mixer with the whisk attachment on medium-high. You are looking for the « ribbon stage »—when you lift the whisk, the batter should fall in a thick trail that holds its shape for 3 seconds before disappearing.
Phase 2: The Marriage of Fats and Sugars
Slowly stream the cooled chocolate-butter mixture into your egg foam. Fold gently with a silicone spatula. Do not use a whisk here; you don’t want to pop the air bubbles you just spent five minutes creating.
Sift in 100g of All-Purpose flour (Gold Medal is fine here) and 5g of Diamond Crystal Kosher salt.
Pro-Tip: Sifting is non-negotiable. Cocoa powder and flour form « pockets » of dry dust that are impossible to stir out later without over-mixing. Over-mixing develops gluten, and gluten is the enemy of fudge.
Phase 3: The Bake and The « Thump »
Pour the batter into an 8×8-inch metal pan lined with parchment paper. Do not use glass; glass is an insulator and will overcook the edges while leaving the middle raw.
Bake at 350°F (175°C) for 20 minutes. At the 20-minute mark, take the pan out and firmly tap it against the counter three times. This collapses any large air pockets, ensuring a dense interior. Return to the oven for another 5-10 minutes.
Visual Cues: The edges should be slightly puffed and matte, while the center should still have a slight « wobble » if shaken. If the center is firm, you’ve overbaked them.
Pro-Tip: The « Carry-over Cook » is real. Brownies continue to cook for 15 minutes after leaving the oven. Pull them out when they look 90% done.
Troubleshooting Table
| What Went Wrong | How to Fix It Next Time |
| Cakey/Dry Texture | You over-mixed the flour or used too much. Weigh your flour; don’t use cups. |
| Dull, Matte Top | You didn’t whisk the eggs and sugar long enough. The sugar must be fully dissolved. |
| Greasy Bottom | Your chocolate/butter mixture was too hot when added to the eggs, breaking the emulsion. |
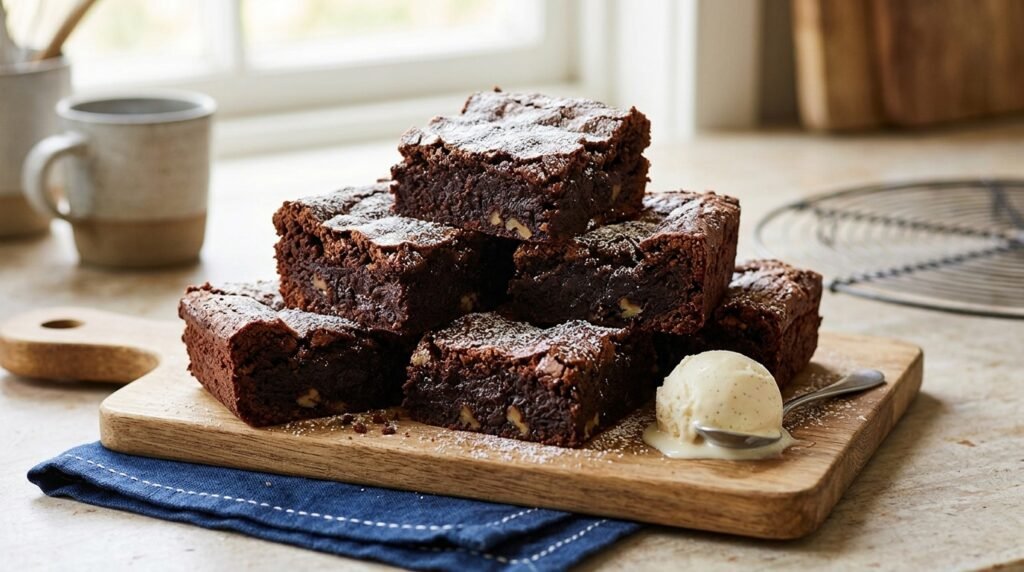
| Brownies Falling Apart | You cut them too soon. These must reach room temperature to « set » their structure. |
Storage & Reheating
Do not leave these on a plate with plastic wrap; they will go stale within 12 hours.
- Room Temp: Store in an airtight glass container for up to 4 days. Place a small piece of parchment paper between layers to prevent sticking.
- Fridge: For a « truffle » consistency, store them in the fridge. They will last 7 days.
- Reheating: To regain the « just out of the oven » feel, do not microwave (this makes the chocolate oily). Place a brownie on a sheet pan in a 300°F oven for 6 minutes. This re-crisps the top crust without drying out the center.
Recipe Card Summary
- Prep Time: 20 Minutes
- Cook Time: 25-30 Minutes
- Yield: 16 Brownies
- Essential Equipment: 8×8-inch Metal Baking Pan, Parchment Paper, Kitchen Scale, Sifter.
Note: Always use a metal pan for brownies. Glass and ceramic retain heat too long, making the edges hard and chewy before the center is safe to eat. Accuracy matters—use the gram measurements provided for the 2026-standard result.