Stop making flat, rubbery pancakes that taste like cardboard. Most homemade pancake recipes fail because people overwork the batter or use cold ingredients, leading to a chewy texture rather than a light, airy crumb. If your pancakes look like thin crepes or have a « gummy » center, you are likely falling into the trap of the « over-mix. »
This guide solves the most common frustration in breakfast cooking: the dense pancake. Based on my experience testing 13 Foolproof Pancake Recipes for Perfect Fluffy Results, I’ve distilled the science of the griddle down to a repeatable system. We aren’t just making breakfast; we are engineering a specific chemical reaction that guarantees a 1-inch rise every single time.
The biggest mistake? Treating pancake batter like cake batter. It isn’t. When you stir until the lumps are gone, you develop gluten. Gluten is great for chewy sourdough bread, but it is the enemy of a tender pancake. We’re going to fix your technique, your temperature, and your ingredient ratios to ensure your Monday morning or Saturday brunch is actually worth the effort.
The « Hero » Technique: The Resting Acid Method
The secret to a pancake that towers on the plate isn’t a special brand of flour—it’s The Resting Acid Method.
Most recipes tell you to mix and go. That is a mistake. This recipe utilizes a specific interaction between real buttermilk (the acid) and double-acting baking powder. By letting the batter rest for exactly 10 minutes before it hits the heat, you allow two things to happen:
- Starch Hydration: The flour fully absorbs the liquid, which prevents that « grainy » mouthfeel.
- Carbon Dioxide Activation: The leavening agents begin creating micro-bubbles while the batter is still in the bowl. If you pour it immediately, the heat of the pan kills the reaction before the structure is set.
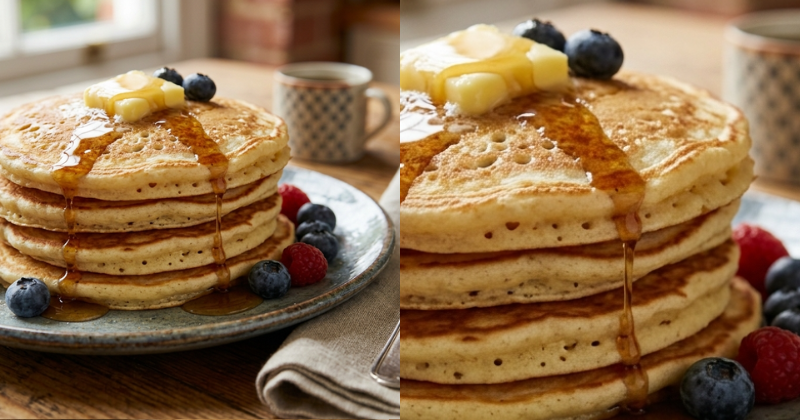
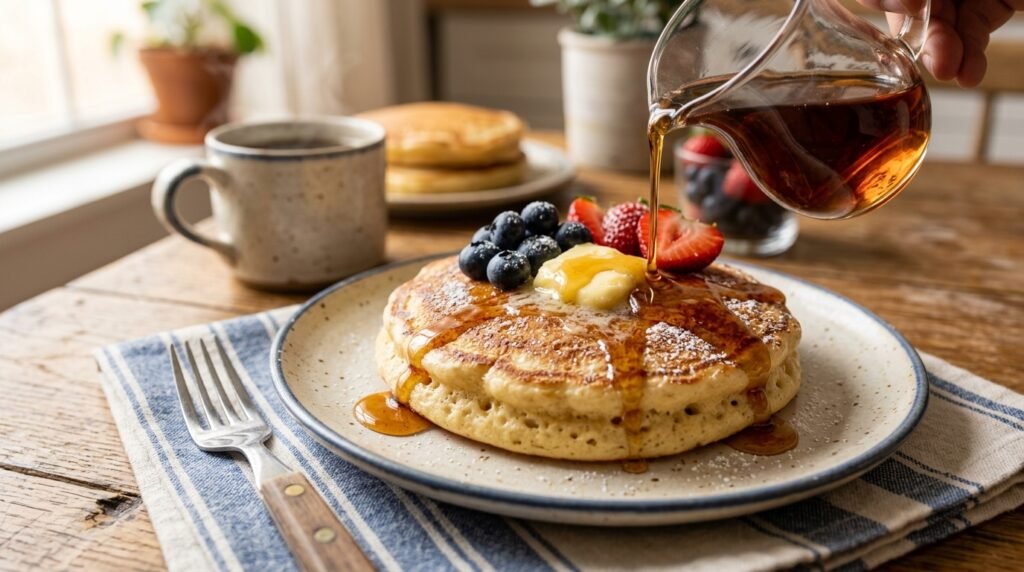
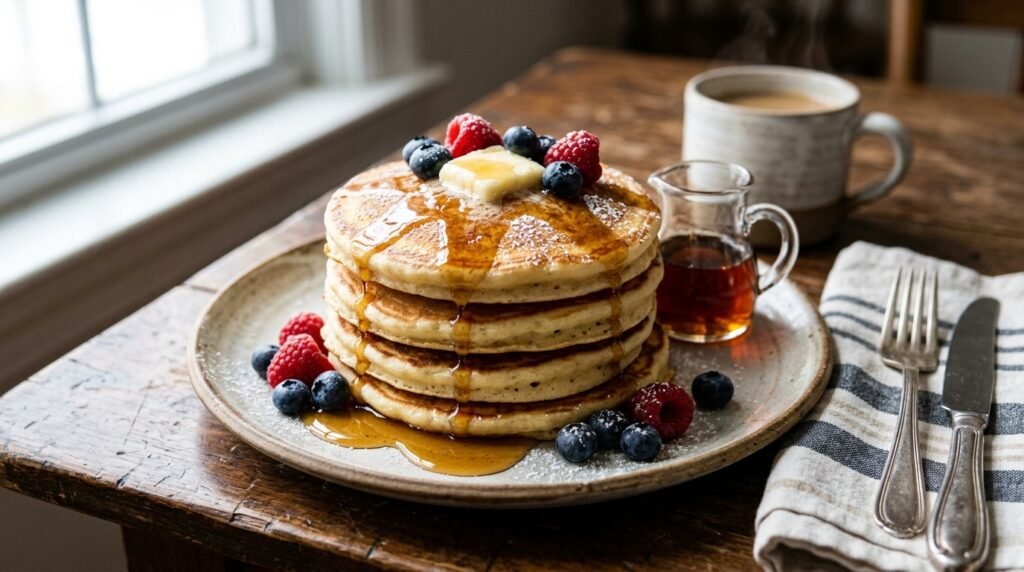
This 10-minute rest creates a « pre-aerated » batter. When it finally hits the 375°F surface, those bubbles expand rapidly, « setting » the pancake in its most lifted state. This is why these pancakes stay fluffy even after you stack them.
Ingredient Deep Dive: Why These Matter

Stop reaching for whatever is in the pantry. If you want professional results, you need specific chemistry.
- Bleached All-Purpose Flour: Unlike unbleached flour, bleached flour has a lower protein content and a slightly more acidic pH. This leads to a softer, more tender « cake » texture. Use Gold Medal or Pillsbury for the most consistent rise.
- Real Buttermilk: Do not use the « milk plus lemon juice » hack unless you are in a true emergency. Real buttermilk is thicker and has a distinct fat content that provides the necessary viscosity to hold bubbles.
- Melted Unsalted Butter (Cooled): Use Kerrygold or a high-fat European-style butter. We melt it to ensure even distribution, but it must be cooled. Hot butter will scramble your eggs upon contact, ruining the emulsification.
- Diamond Crystal Kosher Salt: Avoid table salt. The larger flakes dissolve more evenly and provide a clean saltiness that cuts through the sugar without making the batter taste « salty. »
- Extra Leavening: We use a combination of baking powder for lift and a pinch of baking soda. The soda reacts specifically with the buttermilk to aid in browning (the Maillard reaction), giving you that golden-brown crust.
The Walkthrough: Step-by-Step
Phase 1: The Prep
In a large bowl, whisk your dry ingredients: flour, sugar, salt, baking powder, and baking soda. In a separate jug, whisk your buttermilk, cooled melted butter, and two large room-temperature eggs.
Pro-Tip: Ensure your eggs are room temperature by placing them in a bowl of warm water for 5 minutes. Cold eggs will cause your melted butter to re-solidify into tiny clumps, leading to uneven fat distribution.
Phase 2: The Marriage
Make a well in the center of the dry ingredients. Pour the wet ingredients in. Use a silicone spatula to fold the mixture. Stop when you still see streaks of dry flour. The batter should look lumpy and ugly. This is correct.
Pro-Tip: Use a « cut and fold » motion. Cut through the center, scrape the bottom, and fold over. Do not stir in circles.
Phase 3: The 10-Minute Rest
Set a timer. Leave the bowl on the counter. Do not touch it. Do not « check » it by stirring. During this time, preheat your electric griddle to 375°F or a heavy cast-iron skillet over medium-low heat.
Phase 4: The Cook
Lightly coat the cooking surface with a neutral oil (like grapeseed) using a paper towel. Do not use butter for the pan; the milk solids will burn before the pancake is done. Use a 1/4 cup measuring scoop to drop the batter.
Visual Cues:
- The Edge: Look for the edges to transition from « shiny » to « matte. »
- The Bubbles: Wait for bubbles to form in the center and, crucially, for some of those bubbles to pop and stay open. If the hole doesn’t fill back in with batter, it is time to flip.
- The Sound: When you flip, you should hear a soft « whoosh » of steam, not a heavy thud.
Pro-Tip: Flip once. Only once. Pressing down on a pancake with a spatula after the flip is the fastest way to turn a fluffy pancake into a leaden disc. Don’t do it.
Troubleshooting Table
| What Went Wrong | How to Fix It Next Time |
| Pancakes are flat and thin | Your baking powder is likely expired or you over-mixed the batter, popping the air bubbles. |
| Dark outside, raw inside | The pan is too hot. Lower the heat and use a thick-bottomed skillet for better heat distribution. |
| Rubbery/Chewy texture | You stirred the batter until it was smooth. Leave the lumps in next time. |
| Uniformly pale/No color | You skipped the baking soda or your pan isn’t hot enough to trigger browning. |
Storage & Reheating

Do not stack hot pancakes if you plan on saving them; the steam will turn them into mush.
- Storage: Let the pancakes cool individually on a wire cooling rack. Once at room temperature, stack them with squares of parchment paper in between each one to prevent sticking. Place them in a Ziploc freezer bag, squeeze out all the air, and store in the fridge for up to 3 days or the freezer for 2 months.
- Reheating: Never use the microwave if you want to keep the texture. Place frozen or cold pancakes on a baking sheet in a 350°F oven for 5–8 minutes. For a slightly crisp exterior, use a toaster on a medium setting—this works surprisingly well for structural integrity.
Recipe Card Summary
- Prep Time: 15 Minutes (includes 10-minute rest)
- Cook Time: 15 Minutes
- Total Time: 30 Minutes
- Yield: 12-14 Pancakes (Serves 4)
- Equipment: Large mixing bowl, silicone spatula, 1/4 cup measure, electric griddle or cast-iron skillet, wire cooling rack.
Final Note: These instructions work because they respect the chemistry of the ingredients. Follow the 10-minute rest and the « lumpy batter » rule, and you will never go back to a boxed mix again.