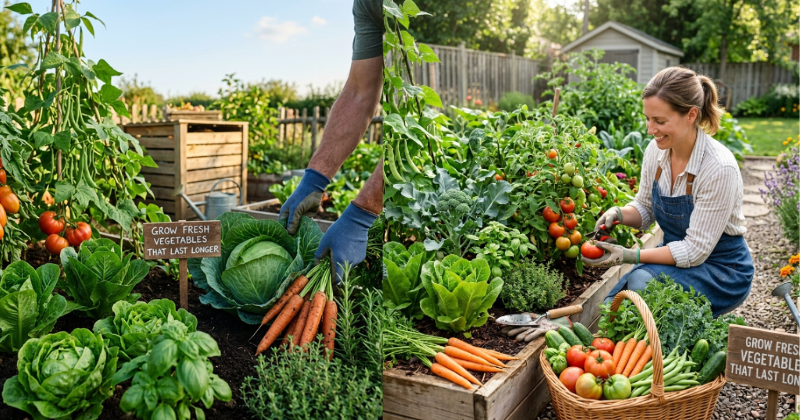
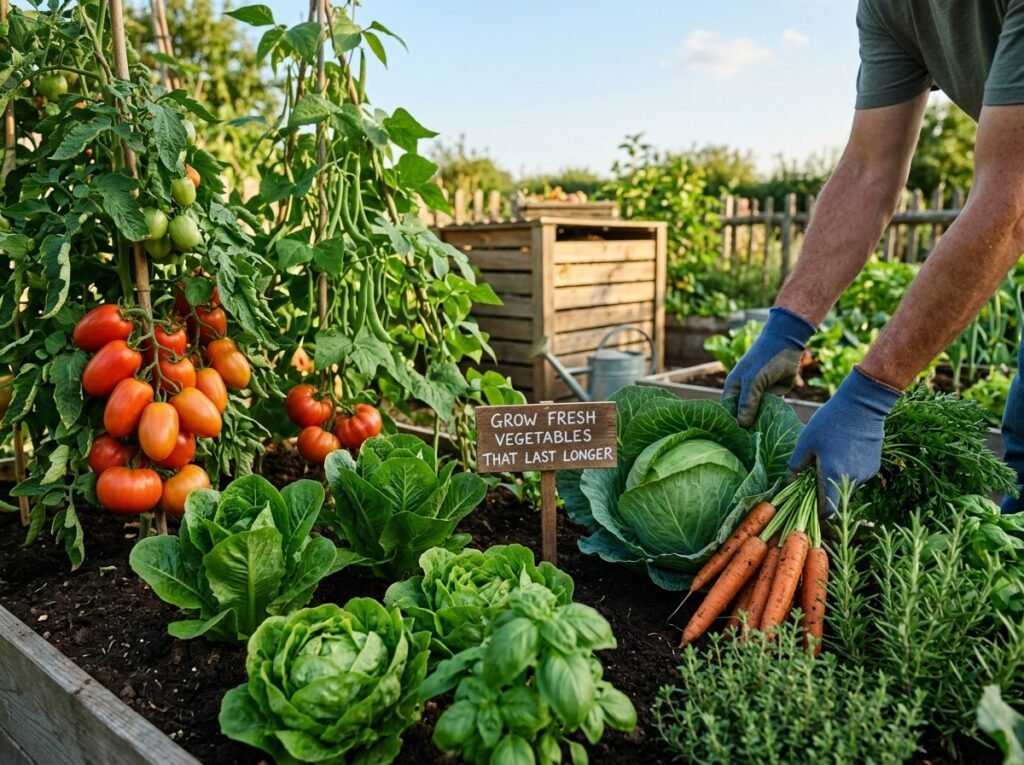
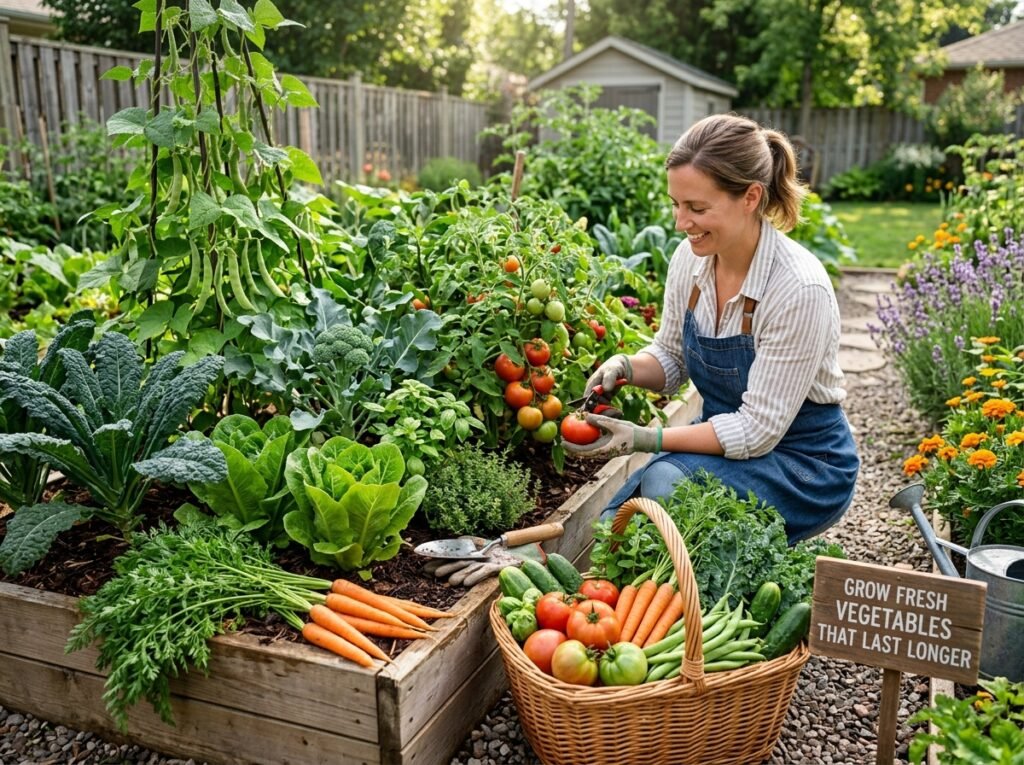
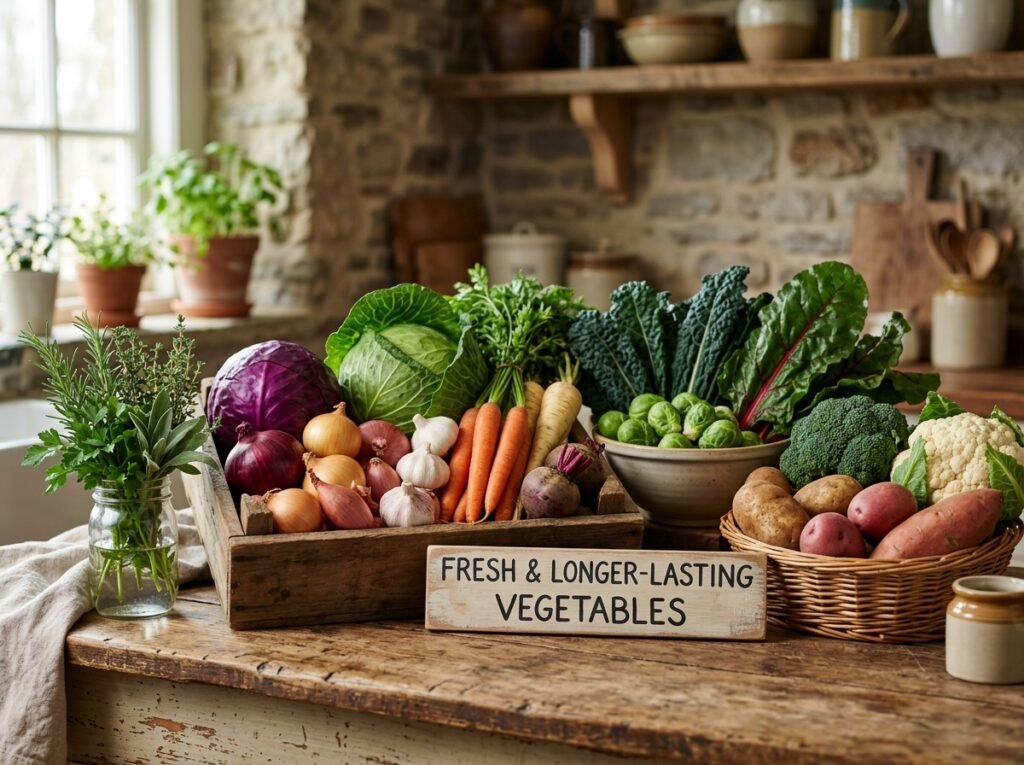
Stop Losing Your Harvest: The Science of Garden Longevity
Most home gardeners lose 30% of their vegetable crop before it even hits the kitchen counter because they treat « freshness » as something that starts at harvest. That is a fundamental misunderstanding of plant physiology. If your carrots are limp within two days or your greens wilt the moment they’re picked, it’s not your refrigerator’s fault—it’s a failure of cellular turgor pressure and carbohydrate storage during the growth cycle. We aren’t just growing food; we are managing the structural integrity of plant cells.
The Hook & The Death Trap
The reason your vegetables don’t last is usually Nitrogen-bloat. Most casual gardeners see a yellow leaf and immediately dump high-nitrogen liquid fertilizer onto the soil. While this creates a rapid flush of dark green growth, it results in thin, watery cell walls that lack structural lignin. These « soft » plants are essentially bags of water that collapse and rot the moment they are detached from their nutrient source. To grow vegetables with a long shelf life, you have to prioritize potassium and calcium over nitrogen, forcing the plant to build thick cell membranes that resist desiccation and fungal pathogens.
The « Hero » Technique: The High-Potassium Finish
To ensure a vegetable stays crisp for weeks rather than hours, you must employ the High-Potassium Finish. In the final three weeks of a vegetable’s life in the dirt, you should drastically reduce nitrogen and increase potassium (K).
Potassium is the primary regulator of stomatal opening and closing. When a plant has luxury consumption of potassium, it can better manage its internal water pressure. From a physiological standpoint, potassium also aids in the synthesis of cellulose and lignin. By tightening the « skin » of your tomatoes or the cell walls of your kale through late-season potassium applications, you are essentially pre-packaging your food for long-term storage while it is still in the ground. I use a liquid kelp meal or a sulfate of potash (0-0-50) diluted to half-strength during the final two weeks of the growth cycle to « harden » the crop.
The Material/Soil Deep Dive
Stop buying generic « garden soil » bags that are 90% uncomposted wood chips. They rob your plants of nutrients through nitrogen drawdown. For vegetables with true staying power, you need a substrate that manages the cation exchange capacity (CEC) effectively.
The Ideal Soil Architecture:
- 40% Sphagnum Peat Moss or Coconut Coir: Provides the acidic base and water-holding capacity.
- 40% Coarse Perlite: Ensures the roots never sit in anaerobic (oxygen-free) conditions, which is where rot begins.
- 20% Aged Worm Castings: I prefer brands like Espoma Organic for their consistency. These provide the microbial life necessary to chelate minerals for the plant.
The pH Factor: You must aim for a pH of 6.2 to 6.8. Why? Because calcium—the « glue » that holds plant cells together—becomes chemically locked in the soil if the pH drops below 6.0. If your soil is too acidic, your vegetables will be « leaky » at a cellular level, leading to rapid spoilage.
The Walkthrough
1. Site Selection & Prep
You need a minimum of 8 hours of direct solar radiation. Anything less and the plant cannot produce enough sugars through photosynthesis to maintain high brix levels. High brix (sugar content) acts as a natural preservative.
Pro-Tip: Use a digital pH meter, not the cheap color-changing strips. If your reading is below 6.0, add Garden Lime at a rate of 5 lbs per 100 square feet at least four weeks before planting.
2. The Planting/Install
Space your plants 20% further apart than the seed packet suggests. Airflow is your primary defense against Botrytis (gray mold). When plants are crowded, the humidity in the micro-climate around the leaves rises, softening the cuticle and making the vegetable more prone to wilting once harvested.
Pro-Tip: When transplanting, dust the root ball with mycorrhizal fungi. This extends the root system’s reach, allowing the plant to pull « deep water » during the heat of the day, preventing the mid-day wilt that damages cell structure.
3. The Long-Term Care: Water Management
Inconsistent watering is a death sentence for longevity. If the soil fluctuates between bone-dry and soaking wet, the plant develops « micro-fractures » in its skin (common in tomatoes and peppers). These cracks are entry points for bacteria.
Visual Cue: The soil should look like damp coffee grounds. If it looks like chocolate cake batter, it’s too wet. If it’s pulling away from the edges of the container or bed, it’s dangerously dry.
Pro-Tip: Use a drip irrigation system or a soaker hose. Overhead watering washes away the natural protective waxes on the leaves, shortening the post-harvest life of leafy greens.
My Hard-Earned Lesson: The Great Onion Rot of 2012
Early in my career, I grew a massive crop of storage onions. They looked beautiful—huge, heavy, and deep green. I had hammered them with high-nitrogen fertilizer right up until the day the tops fell over. I cured them properly in a cool, dark barn, but within a month, every single bulb was a mushy, smelling mess.
The mistake? Too much nitrogen. The cells were so distended and full of water that they couldn’t cure. The « necks » of the onions never truly dried out because the plant was still in « growth mode » instead of « storage mode. » Now, I cut off all fertilizer 4 weeks before harvest and let the soil dry out significantly in the final 10 days. This forced stress tells the plant to move all its sugars into the bulb, creating a natural seal.
Troubleshooting Table
| Symptom | Probable Cause | The Cure |
| Limp Greens (even when watered) | Poor turgor pressure/Heat stress | Harvest at 5:00 AM; plunge immediately into ice water. |
| Bitter Taste | Low brix levels / High heat | Increase potassium; use shade cloth if temps exceed 90°F. |
| Yellowing Bottom Leaves | Nitrogen deficiency or overwatering | Check soil moisture with a finger; apply balanced organic fertilizer. |
| Fruit Cracking | Uneven watering | Mulch with 3 inches of straw to regulate soil moisture. |
| Brown Edges on Leaves | Tip burn (Calcium deficiency) | Ensure pH is 6.5; avoid high-salt synthetic fertilizers. |
Seasonal Maintenance
- Spring: Focus on soil biology. Incorporate 2 inches of compost. Test your drainage; if a hole filled with water doesn’t drain in 2 hours, add more perlite or grit.
- Summer: Mulching is non-negotiable. Use clean straw or shredded leaves. This keeps the root zone 10 degrees cooler, preventing the metabolic stress that degrades vegetable quality.
- Fall: This is the « Hardening » season. Reduce watering frequency but increase the depth of each watering. This encourages deep taproots for root crops like carrots and parsnips.
- Winter: Cover crops. Never leave soil bare. Plant cereal rye or hairy vetch to hold the mineral structure in place for next year’s « long-life » crop.
Plant Profile Summary: Storage-Quality Vegetables
- Hardiness Zone: Varies by species (Focus on Zones 4-9 for best storage crops).
- Light Requirements: Full Sun (8+ hours).
- Water Frequency: Consistent moisture; 1-2 inches per week via ground-level irrigation.
- Soil Texture: Loamy, friable, high organic matter.
- Target Soil pH: 6.2 – 6.8.
- Key Tool: Fiskars Micro-Tip Snips for clean harvest cuts (ragged tears lead to rot).
- Mature Size: Species dependent; avoid « over-sized » specimens as they have higher water content and shorter shelf lives.